3D Printed RG-8 Coax Stripper

When I started my tower installation project, I found myself needing to terminate dozens of PL-259 coax connectors on the tower, the lightning arrestors, and within the shack. I quickly realized that I didn't want to to play the guessing game any longer on whether I got that brade properly soldered to the end, and I switched over to crimped connectors. This Coax Stripper project allowed me to get a consistent cut for all of my coax ends.
Much of my tower installation came form DX Engineering, and after reading good reviews of their crimped PL-259 connectors, I decided to buy into their crimper/connector sets. The dimensions that are used in this stripper are based on their documentation.
DX Engineering does offer their own version of the coax stripper for a nominal cost, but I thought it'd be fun to use this excuse to practice my 3D design and printing process.
To build your own stripper for RG-8 sized of coaxes, download the two STL files from the Resources section above. I printed mine in PETG filmament which holds up nicely to warmer (outdoor) weathers, which can be important to this project.
When slicing this model, I'd recommend to not use any support structure, as it can be tricky to remove from the slots where the razor blades go into.
Stripping the Coax
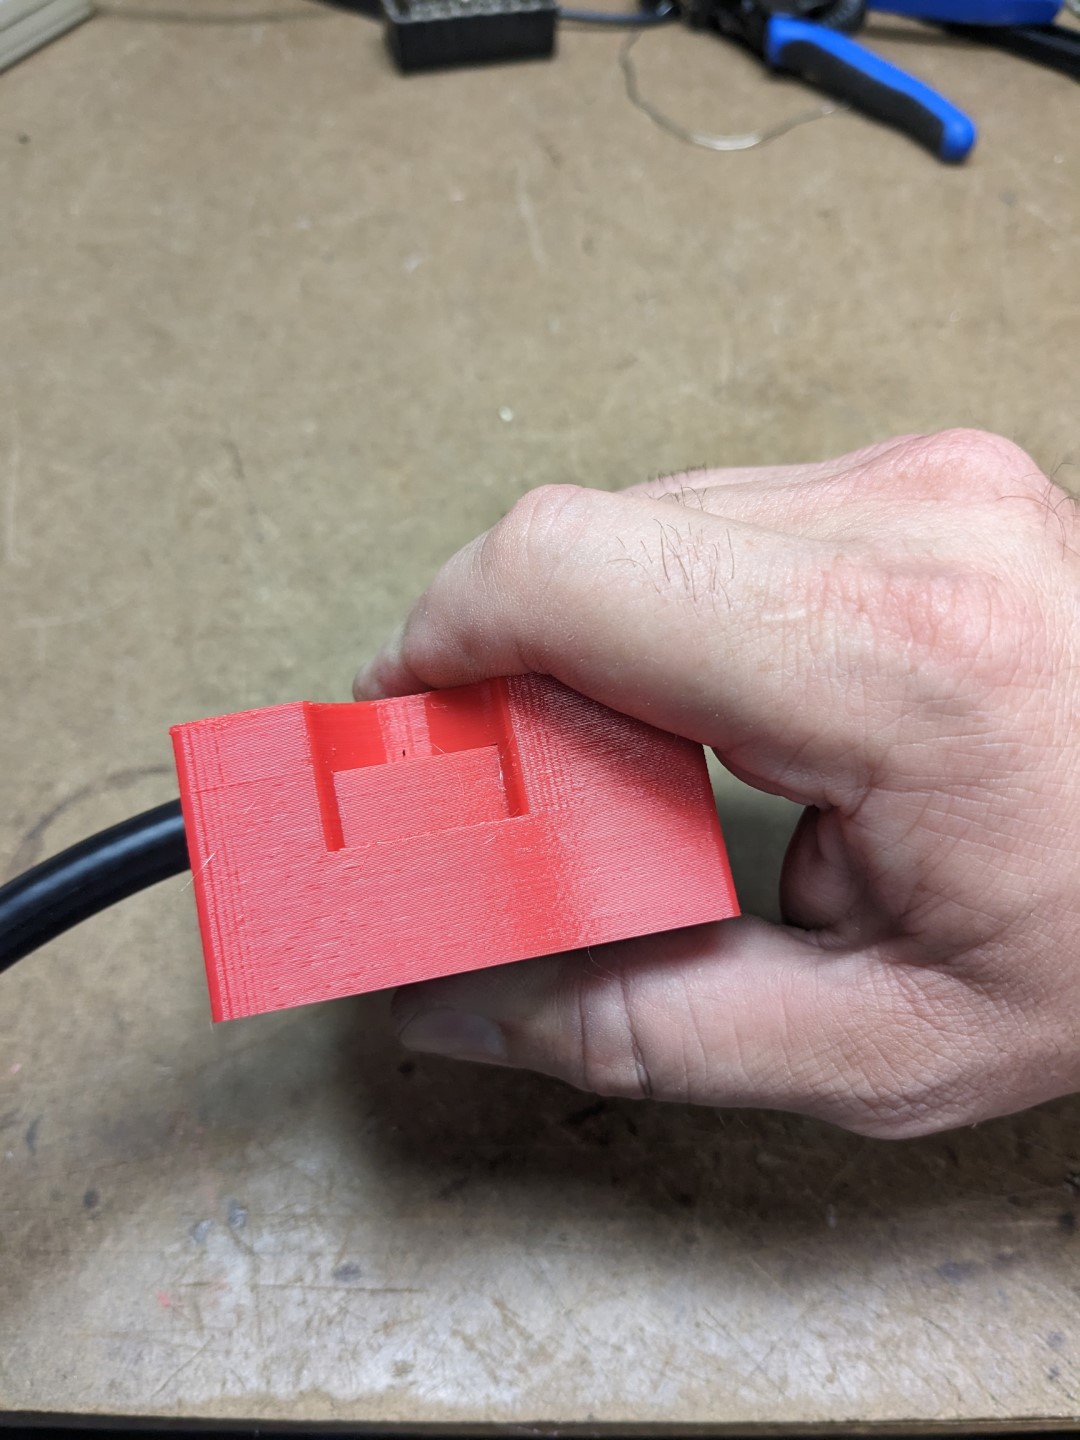
Once the model is printed, insert three razor blades into the slots along the side. The cover part slips over the piece that contains the razor blades, which keeps them in place while protecting your fingers.
Start by getting a good sqare cut on the end of the RG-8 coax.
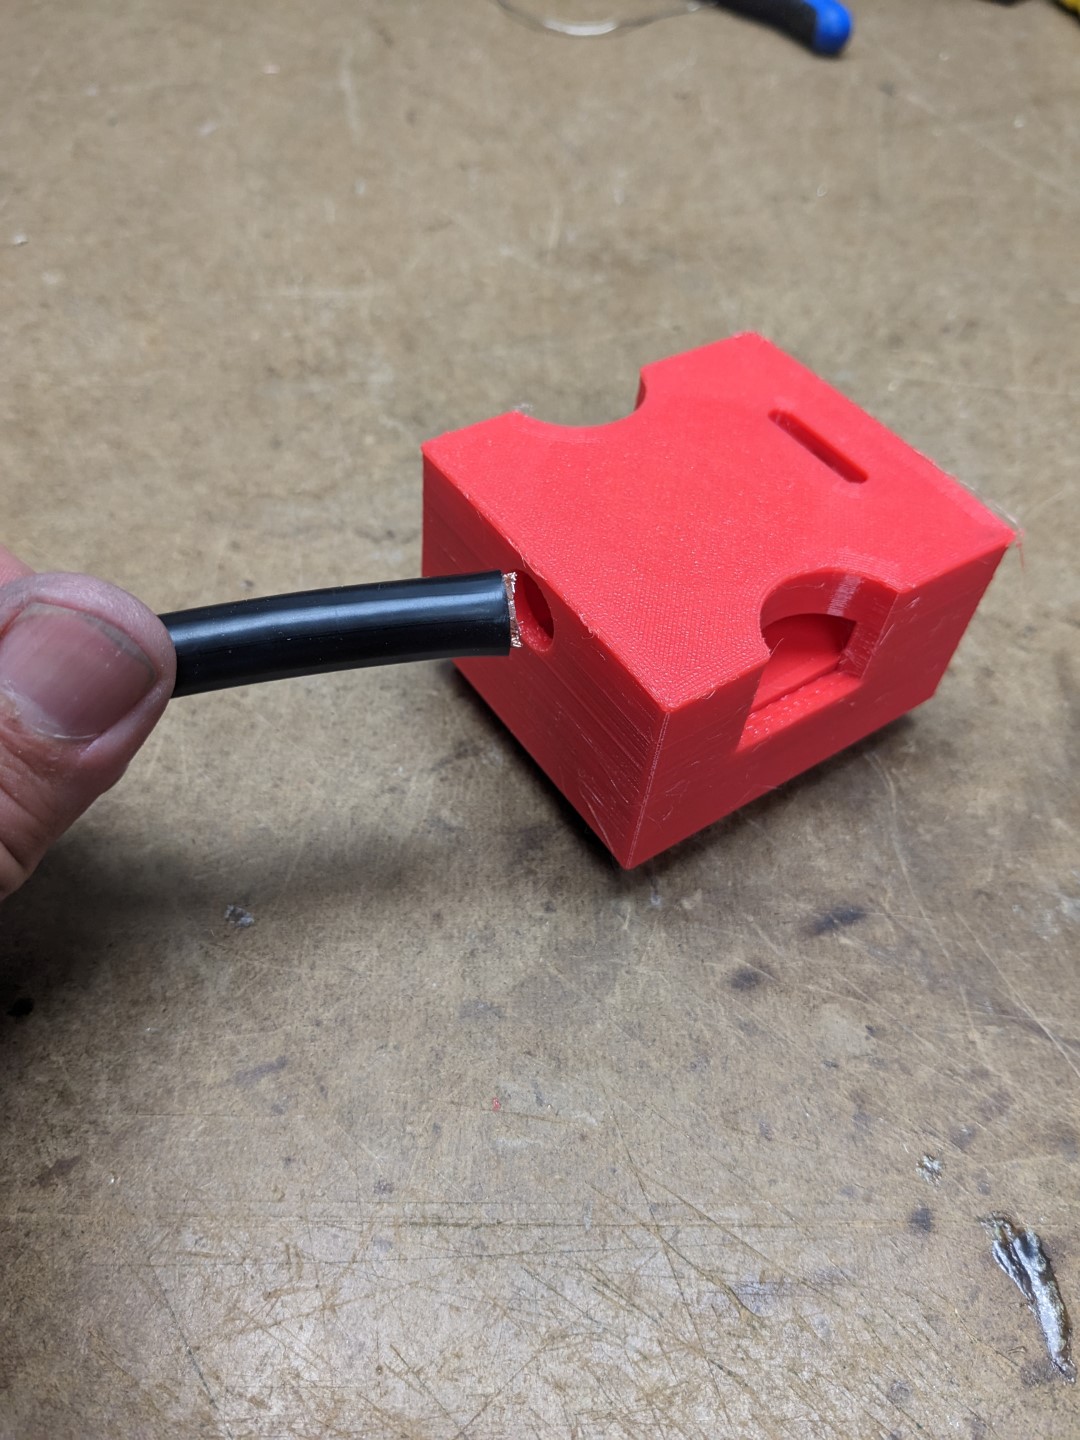
Life the cover up slightly, and insert the end of the coax into the round hole on the side of the cover. Push it all the way to the opposite side of the cover where there is a stop.
Squeeze down tightly on the cover, pressing the razors into the coax. Rotate the stipper all of the way around the coax in order to cut through the jacket and shield. I find that I get the best results by spinning the cutter both clockwise and counter-clockwise.
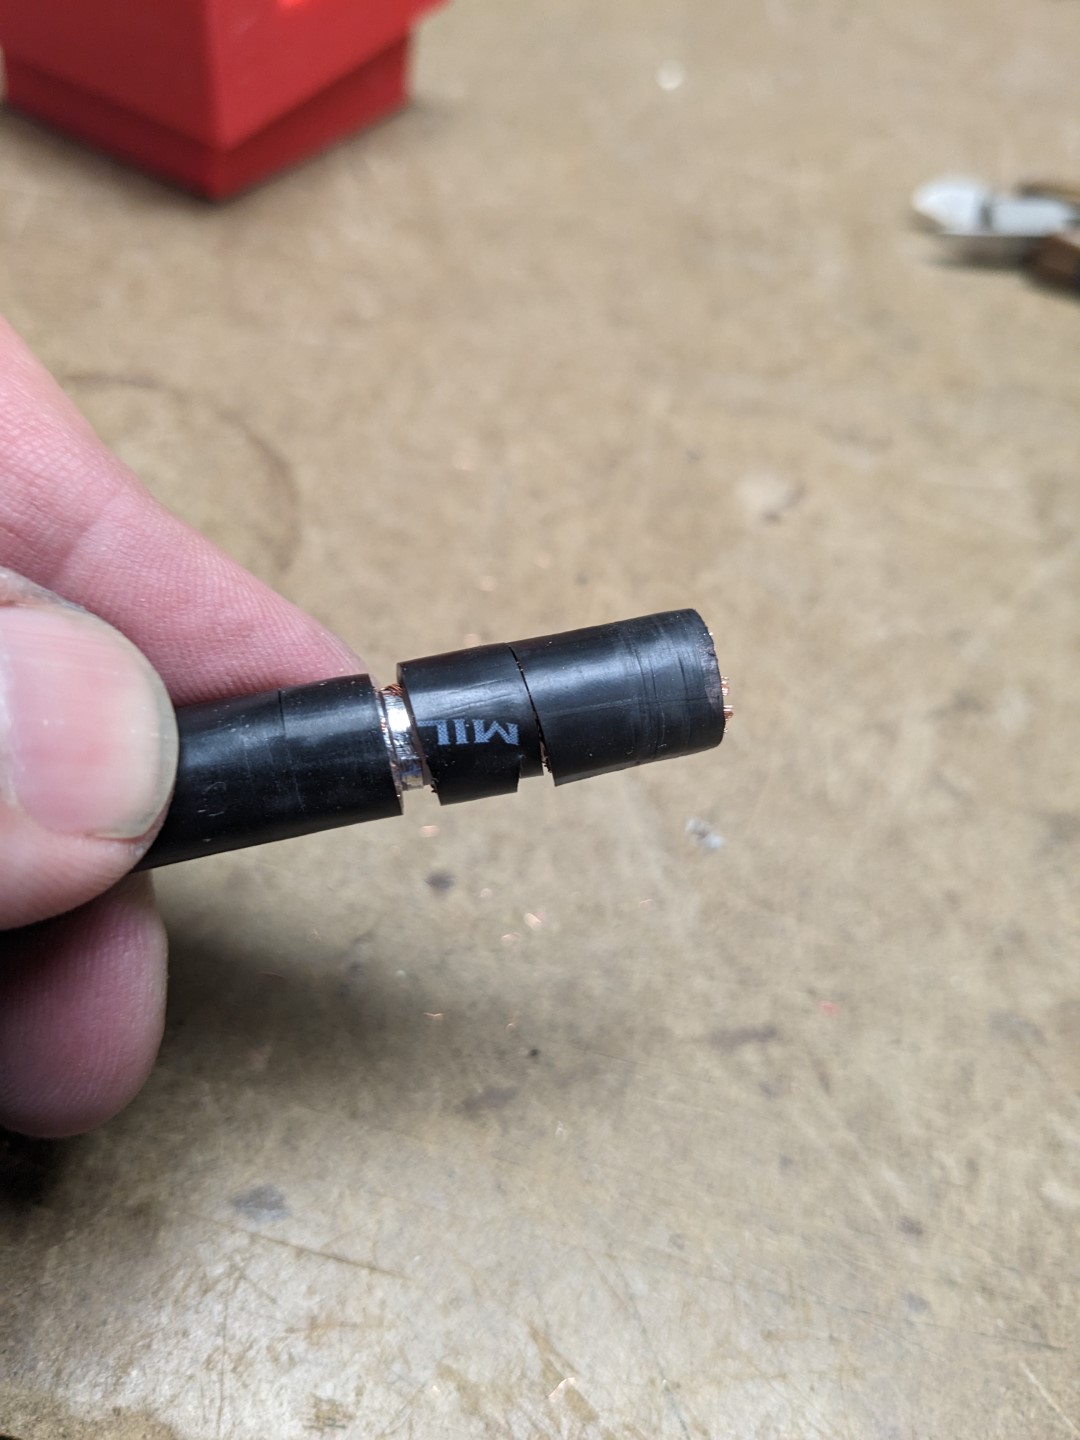
Lift the cover back up slightly and remove the coax. It should look something like this. If any part of the jacket came off inside of the stripper, remove it and discard.
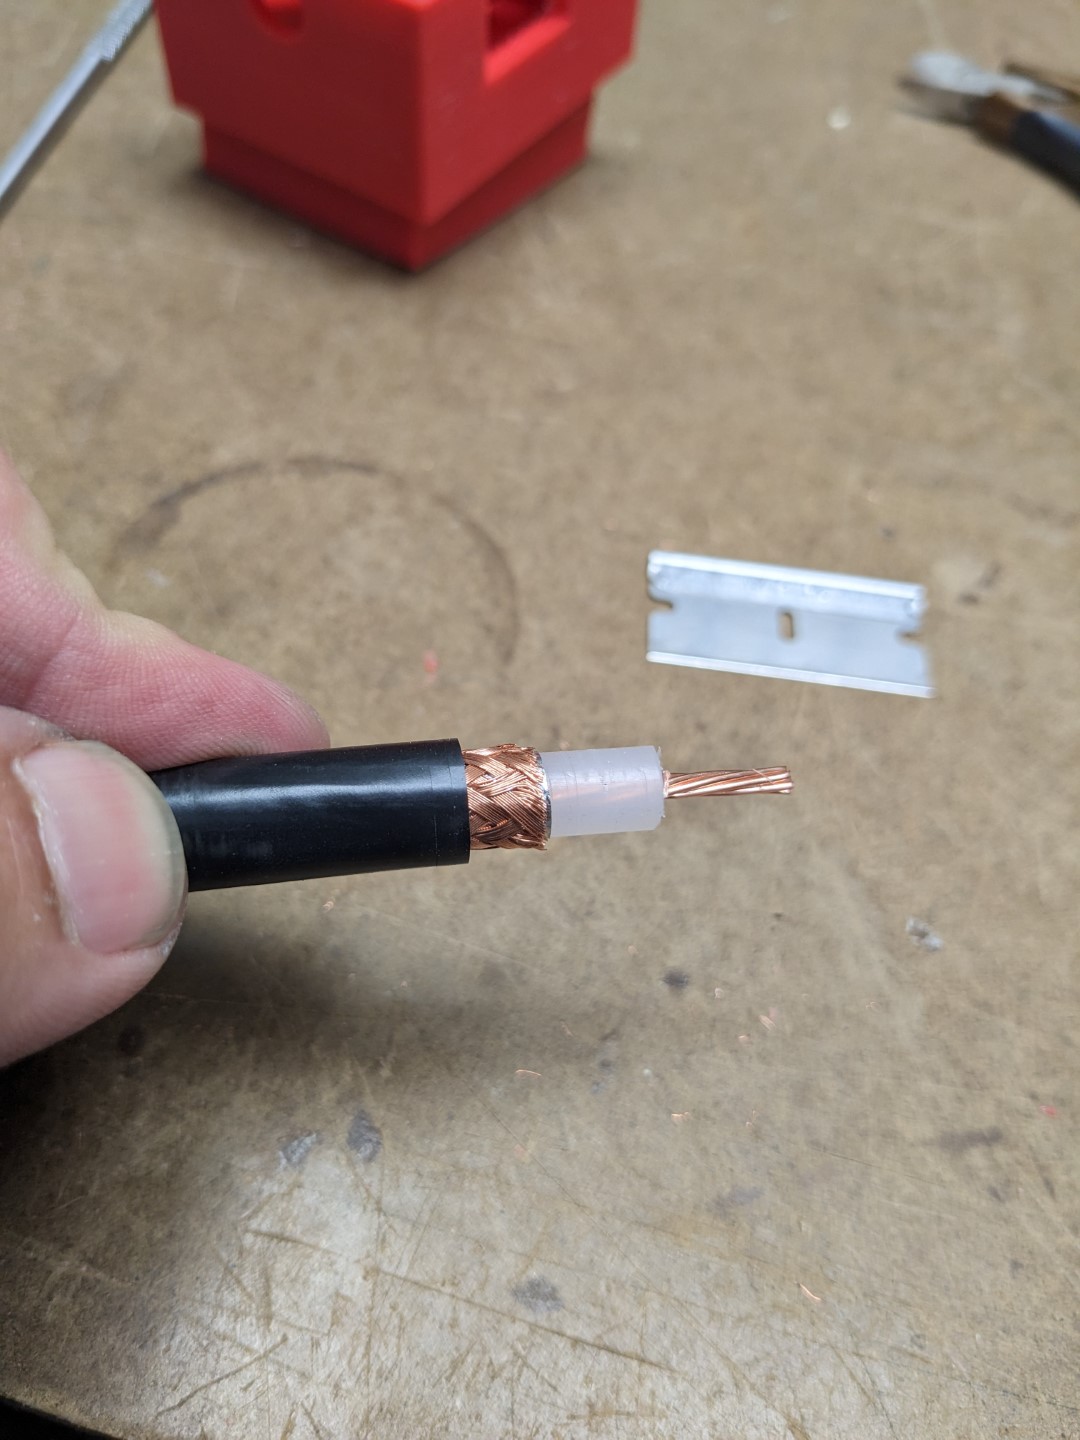
Using the razor cuts as guides, peel back the dialectric and outer jacket so that the coax looks like this.
Slip the ferrule sleeve back over the jacket of the coax. Take the PL-259 connector and push it on to the end of the coax.
Be careful not to kink the center conductor inside of the connector. The skinny part of the PL-259 should slip inside of the coax braid.
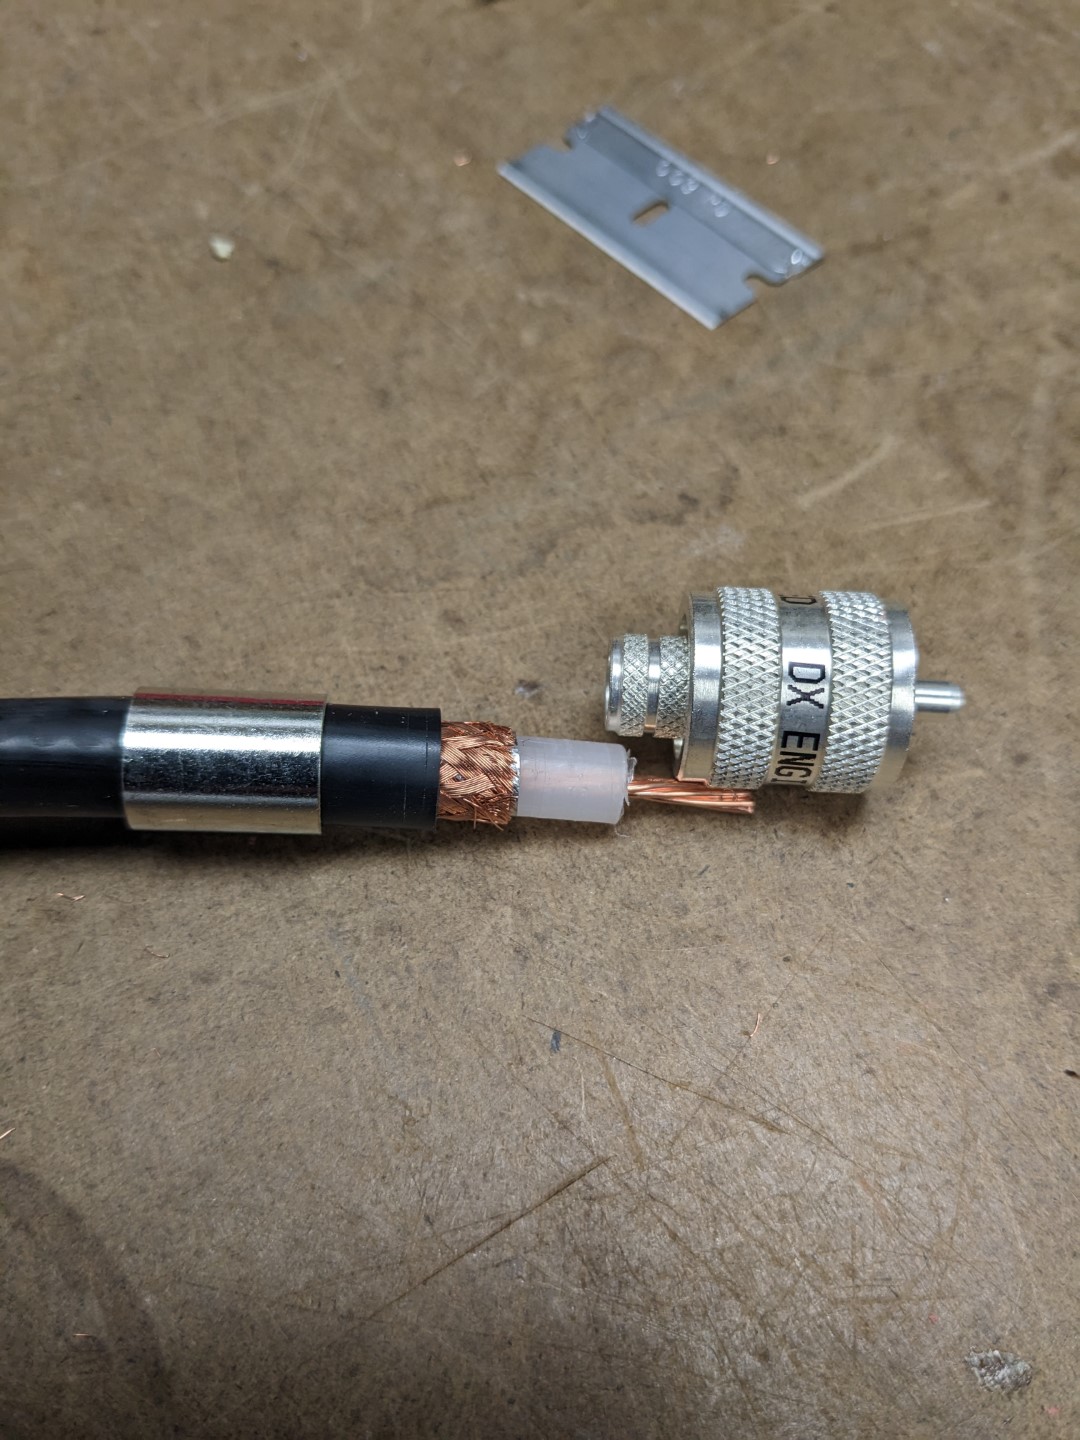
Push the ferrule sleeve forward against the PL-259, being careful not to move the connector away from the coax.
Use the hex crimper to crimp down onto the ferrule, securing the connection.
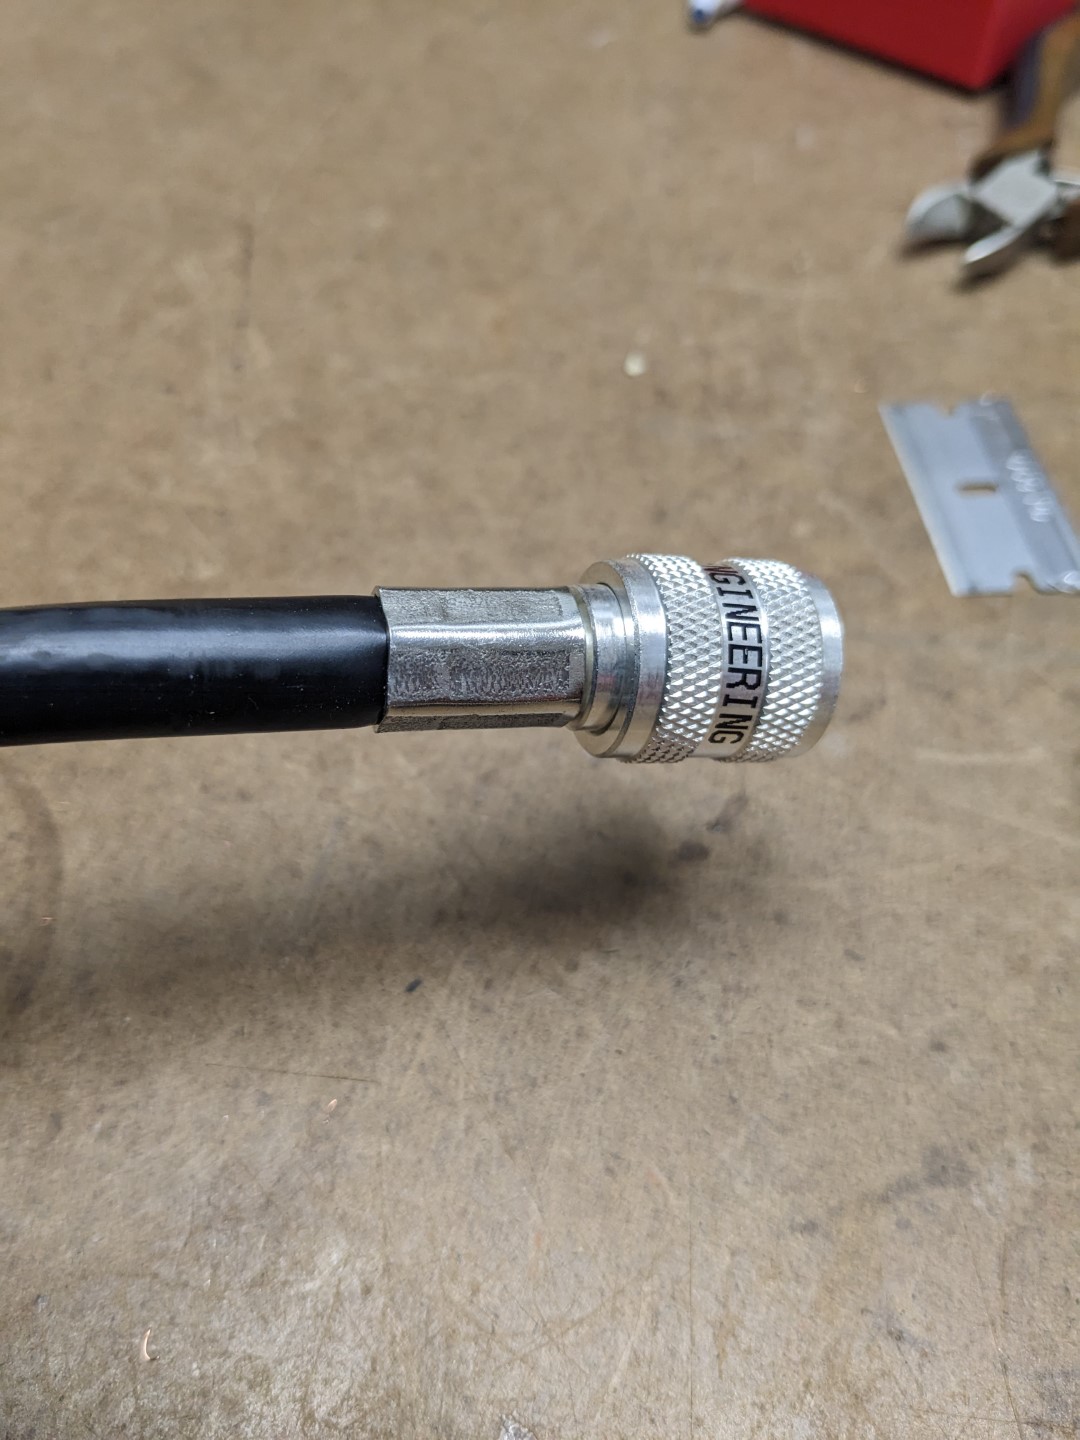
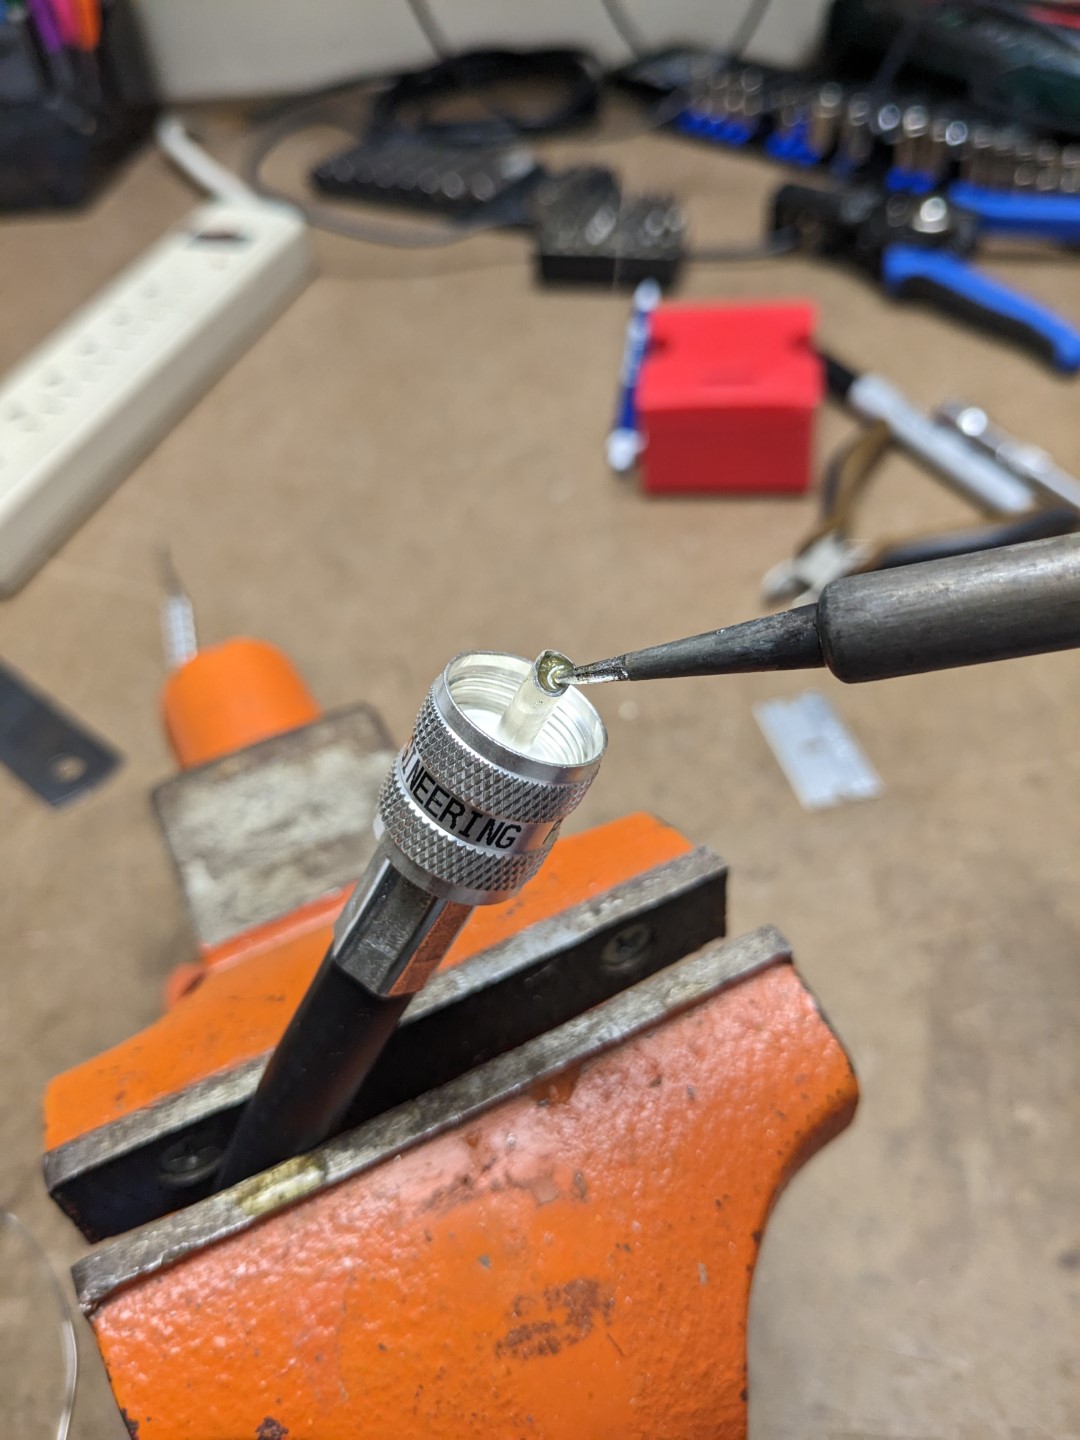
The card part of PL-259's is now complete. You will still need a soldering iron to solder the center conductor. The advantage being that the center conductor is relativly easy to inspect, and can quickly be done outdoors if necessary.
Parts List
3D Printed Housing and Cover
3x Razor Blades
Related Articles


