3D Printed Universal Wall Mount
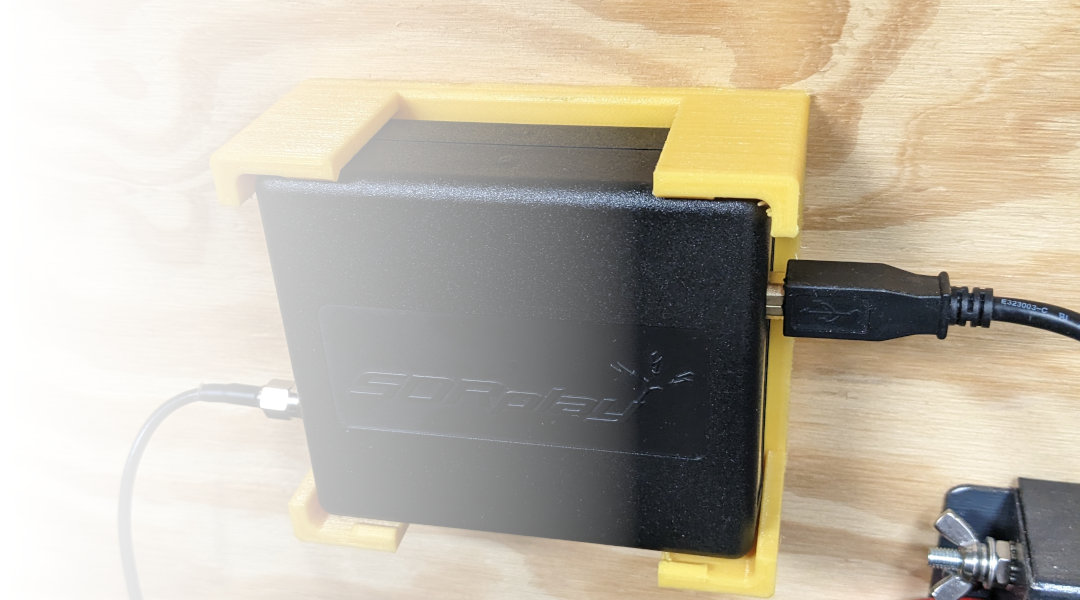
Recently I've found myself designing and 3D printing a lot of mounting brackets, which fundamentally do the same thing, but invariably are slightly different size. After exploring a few different options, I settled on a Spreadsheet-drive FreeCAD model, where the basic parameters of a mount can be keyed in, and an STL model produced.
FreeCAD is a parametric modeler, which essentially means that numeric values (technically known as constraints) define how CAD drawing is laid out. In the beginning I would measure out the dimensions of a power-brick for instance, and design a bracket around that specific form factor, but when I needed a slightly different size, I'd need to largely start over from scratch.
Then one day I learned about the Spreadsheet builder inside of FreeCAD. This feature lets you move these values from the drawing, out into a spreadsheet, very much like Microsoft Excel. One of the key abilities that then opens up is to create formulas, so now one length can build upon another length.
To get started, you'll need to download and install FreeCAD. It is currently on version 0.21.2, which is what this design drawing was made and tested in.
Once FreeCAD is installed, launch the FreeCAD software, and open the Universal Mount CAD file in the Resources section above.
In the tree view along the left side, scroll down to find the Spreadsheet item. Click on Spreadsheet.
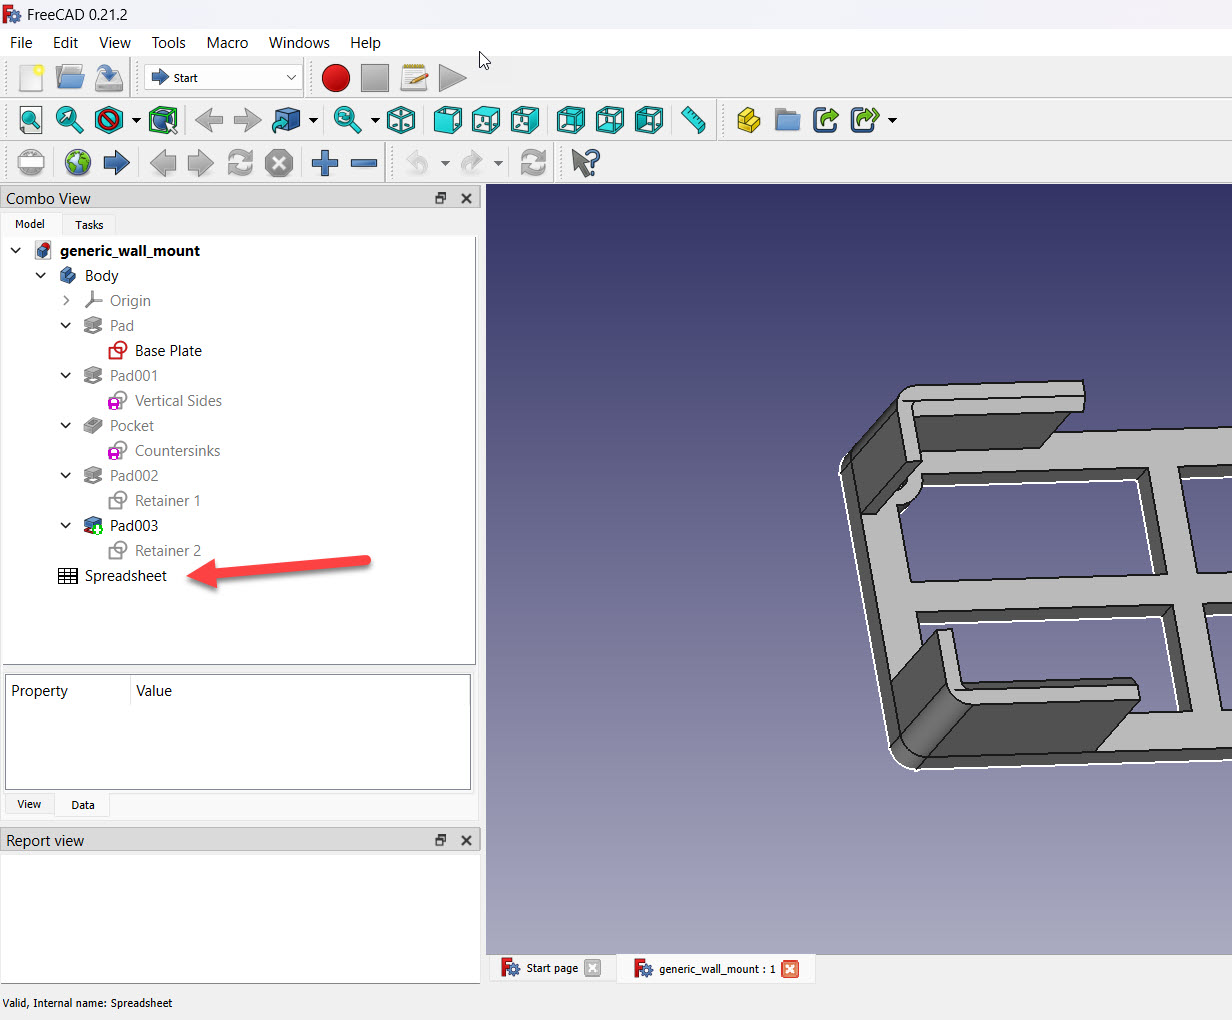
This will open up the Spreadsheet view, which can be seen with the tabs across the bottom of the main view pane.
All of the parameters that are exposed are in this view, along with a parameter Description, and examples of Typical Values. Note that all of the dimensions within this spreadsheet are in millimeters.
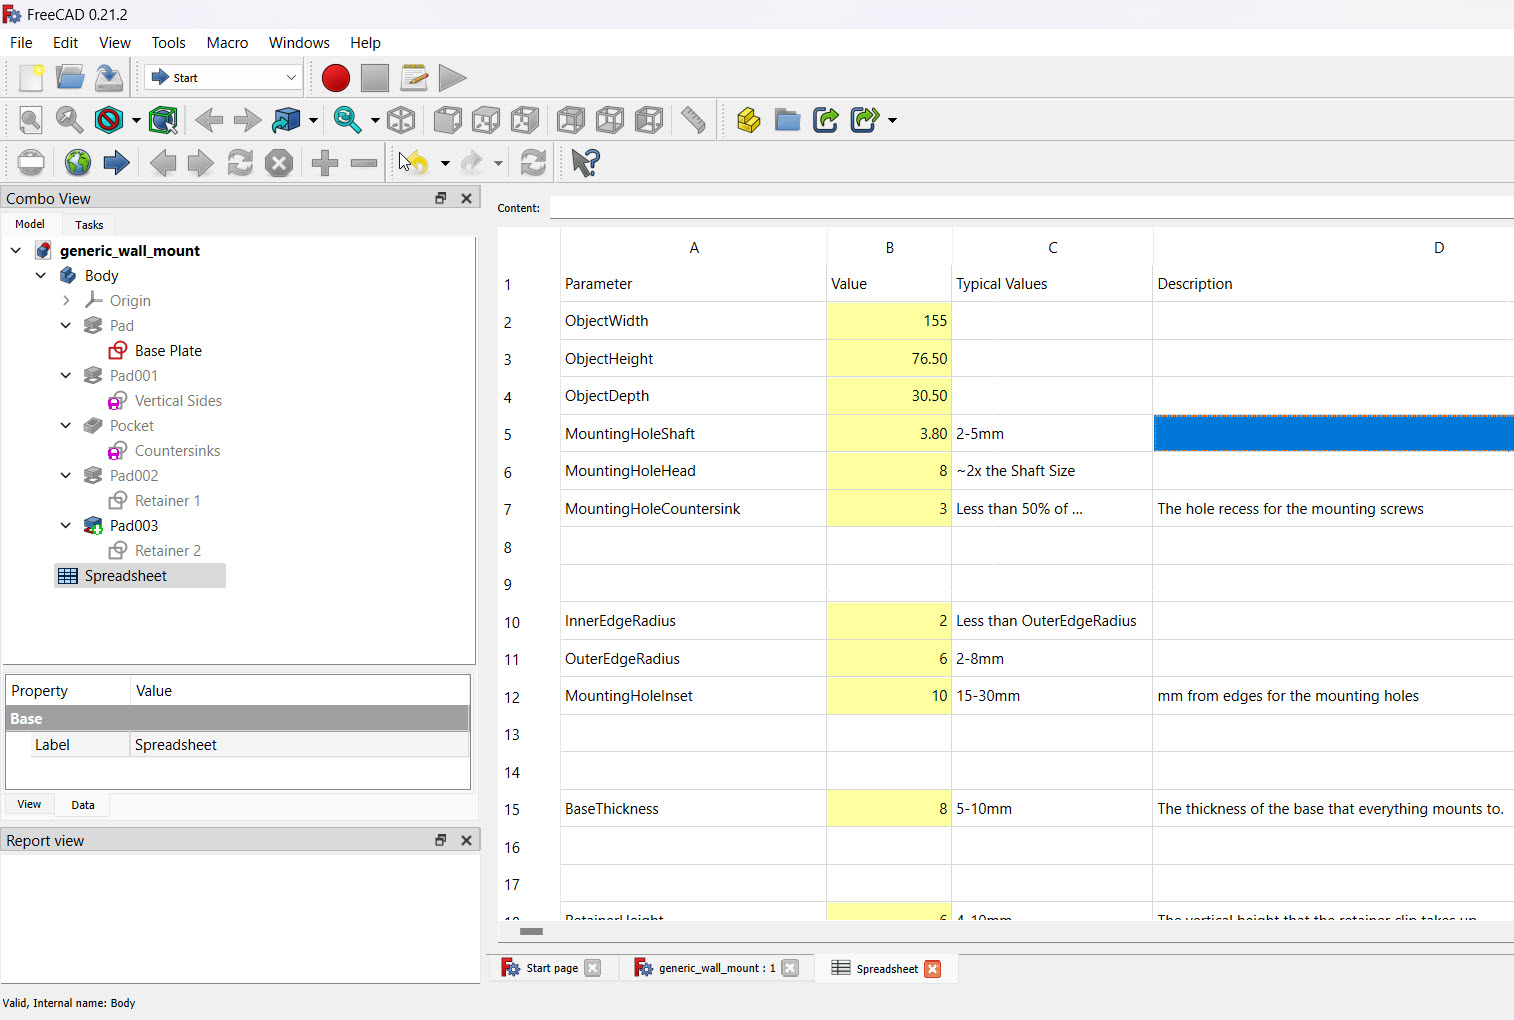
One word of caution here is that certain combinations of values can create unsolvable models. When this happens, it can really throw FreeCAD for a loop, sometimes to the point where the easiest solution is the close out of FreeCAD, and re-open it with a fresh copy of my design file.
The "Width" parameter is typically the long side of a power brick, and it's where the retaining tabs will be located.
"Height" in this context is the Y-axis, and represents how tall the mount will appear on screen.
"Depth" is the Z-axis, and is how deep the cavity is between the wall and the retaining clips at the top edge.
These three are the primary elements in the design of a wall mount model. In many cases, the rest of the elements can be left at their defaults unless you need to adjust the size of the screw holes, or for some reason need to increase of decrease the base or sidewall thicknesses.
Exporting the Model
Once you are satisfied with the parameters, click on the Pad003 element in the tree view. This will select the entire object.
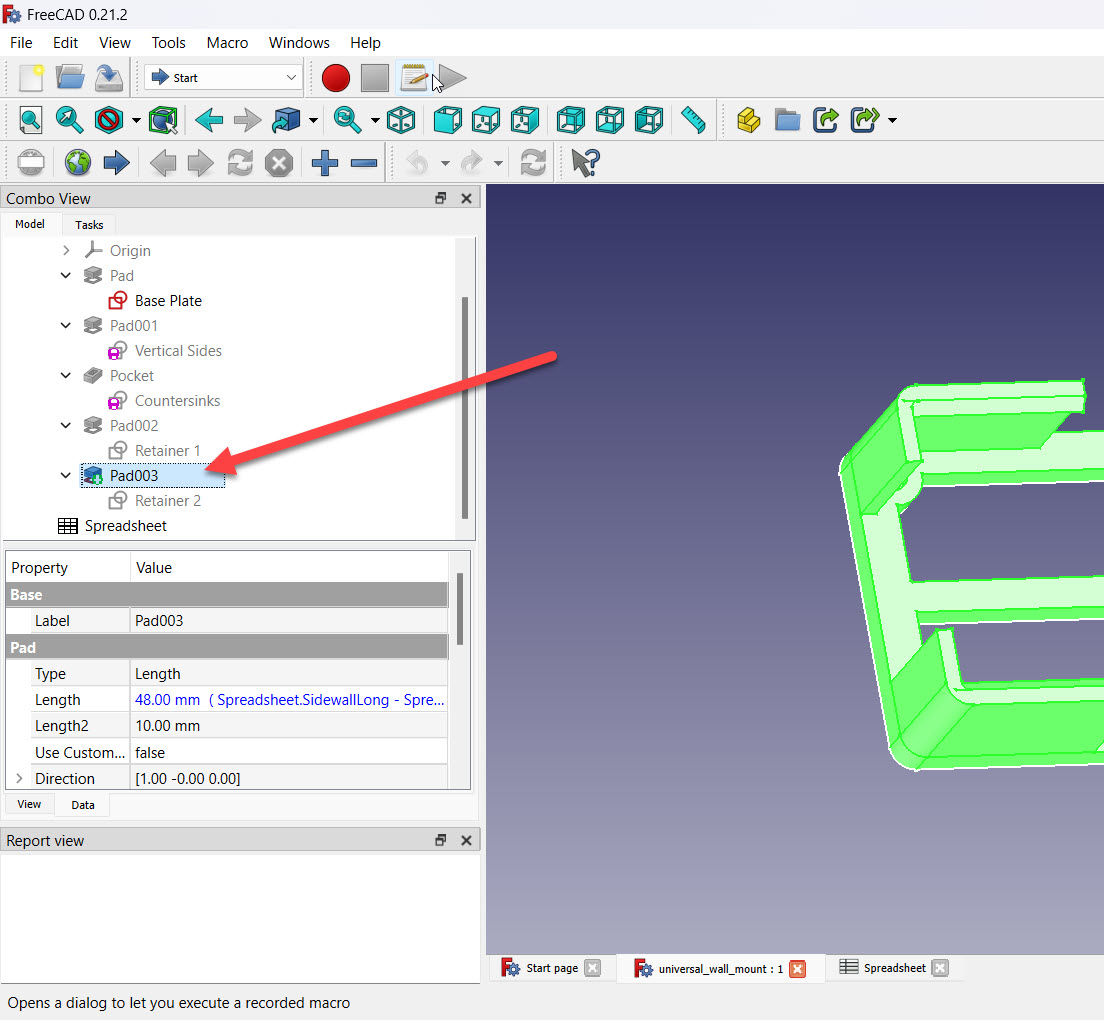
With the object selected (it should be glowing a green color), go to File - Export.

FreeCAD offers multiple file formats to export as, but most 3D printing slicers expect an .STL Mesh file. Save your design as a .stl file, with an appropriate name based on what the design is used for.
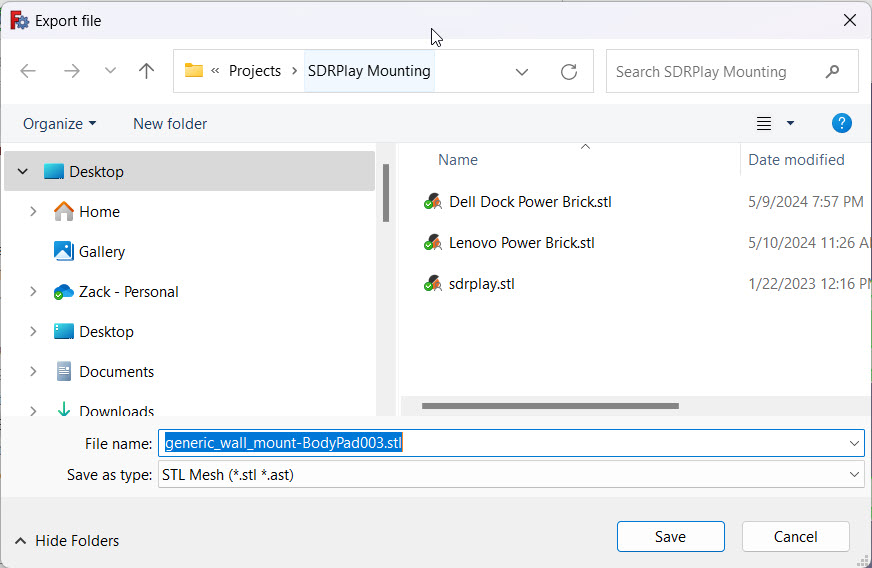
Once the .stl file is created, open your 3D printer's slicer, and impor the STL file as usual.
For many mounts, you'll want to use PETG material since the power supplies and other devices you'll likely be holding will produce heat which could cause PLA to soften over time.
Slice the print, and send it on to the printer!
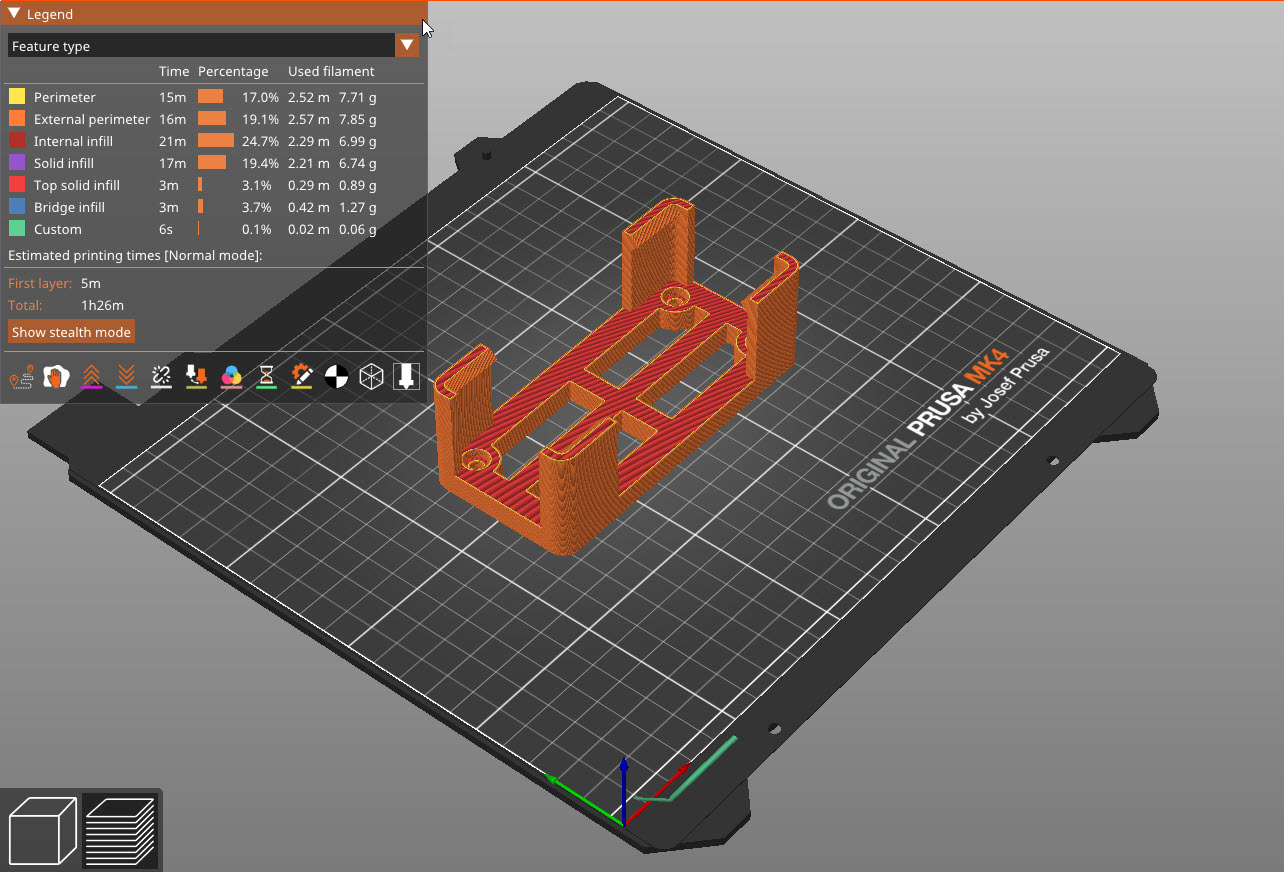
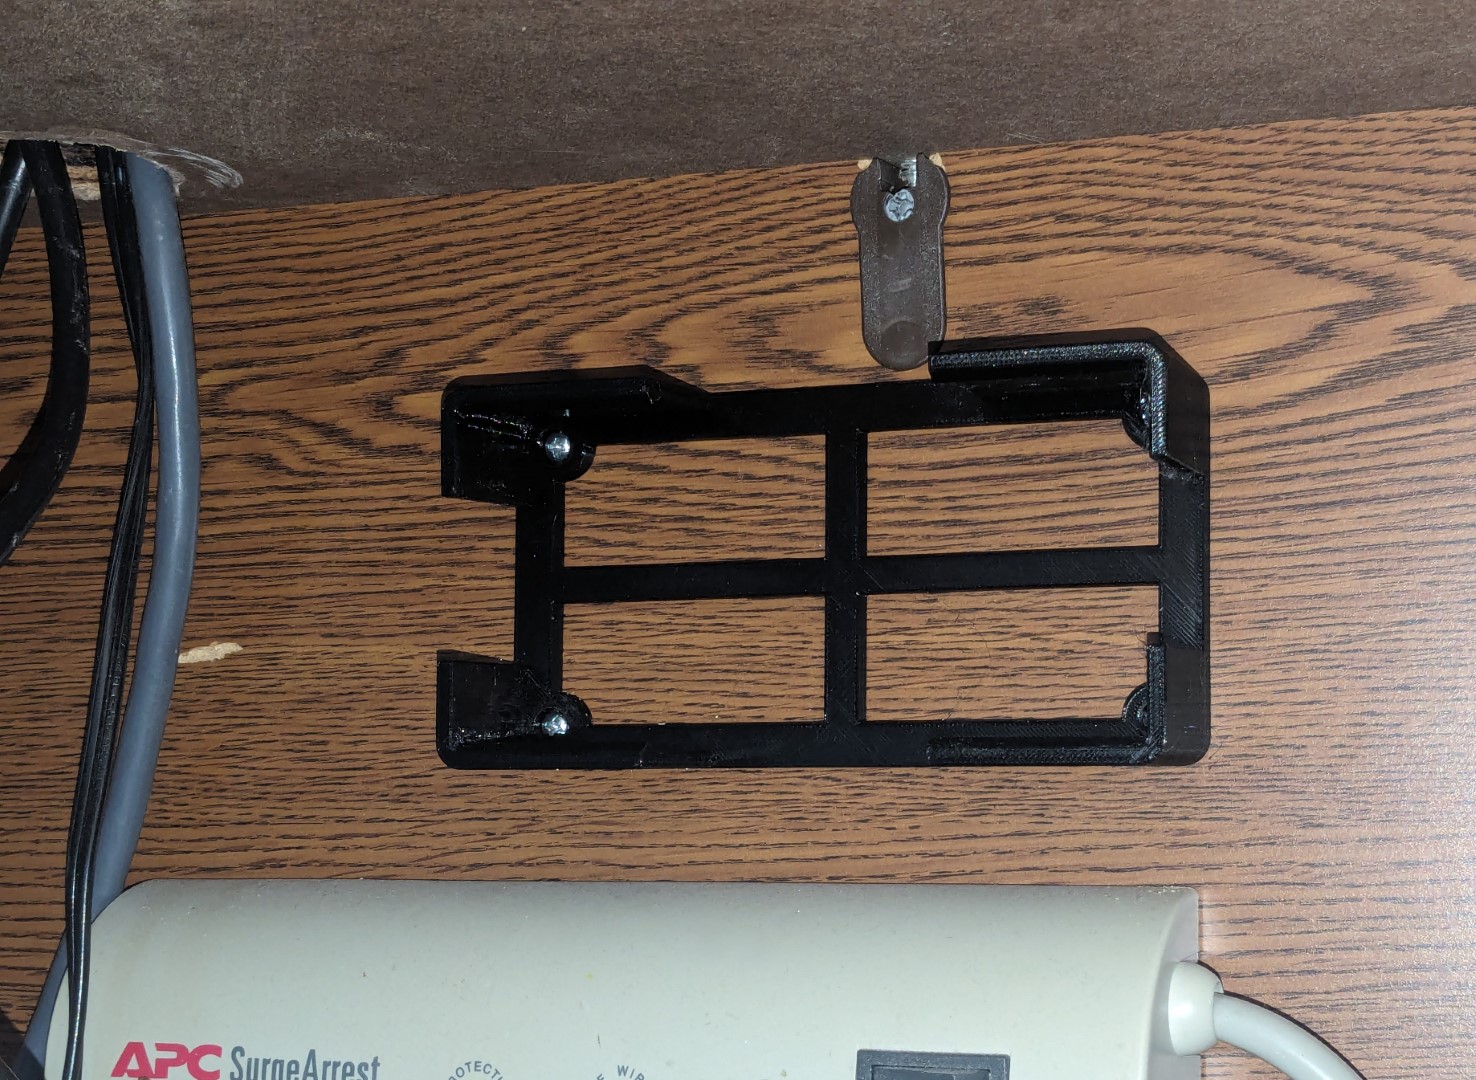
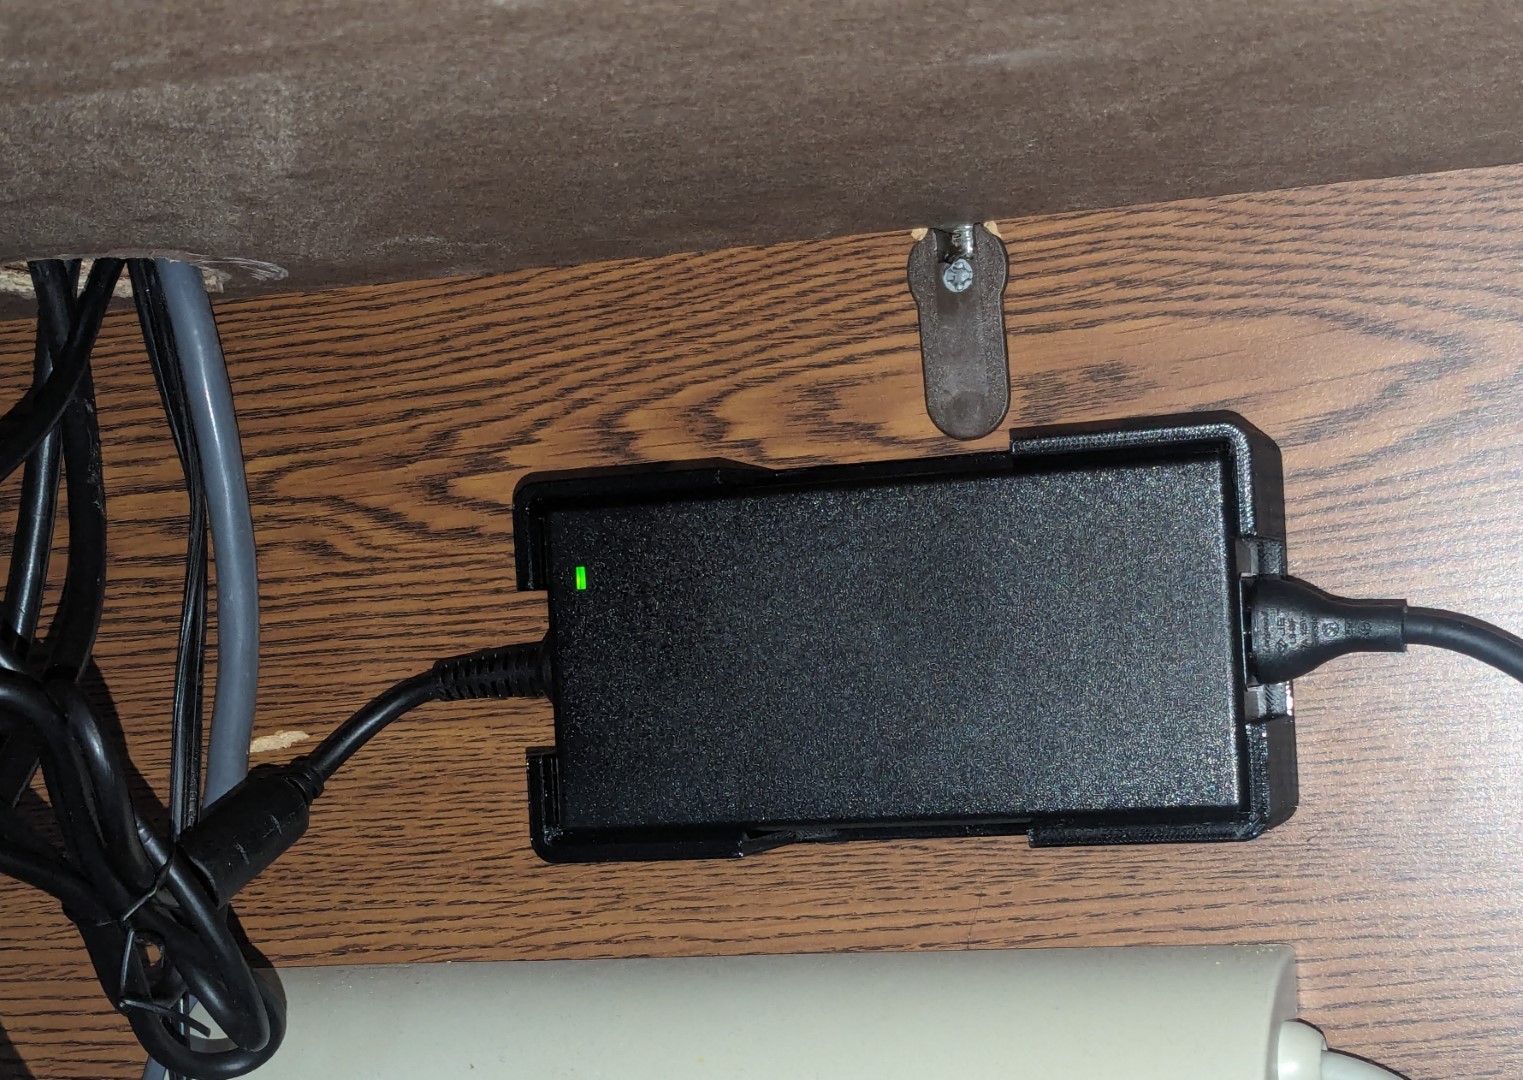
Here is a completed mount that I use to keep my laptop's dock power supply out of the way. It is screwed to the modesty panel of my desk with some #6 screws.
Once it's attached, the brick just snaps into place.
Related Articles


