Solar Power POTA Go Kit
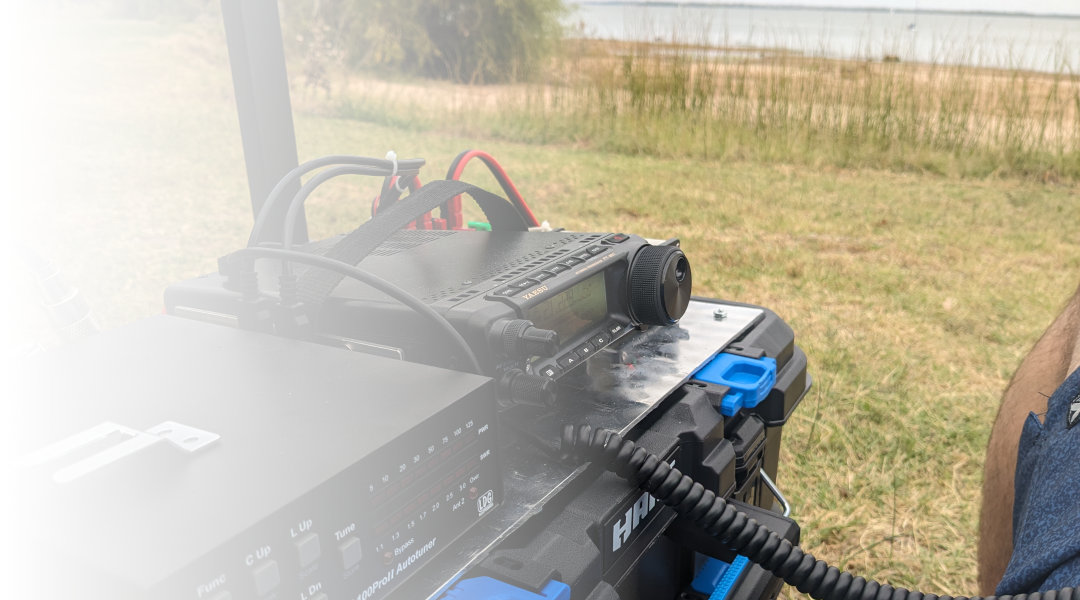
Parks on the Air (POTA) is a great way to enjoy the ham radio hobby, while getting outdoors and getting some exercise. My Go Kit contains everything I need to activate a park for nearly indefinite periods of time.
Equipment Choices
Operating portable in the national parks really piqued my interest as the wife and I enjoy spending our weekends up at the lake, and many afternoons are too hot here in Kansas to not be seeking shade.
For selecting a rig, I knew it needed to be small and lightweight or else it would tend to be left behind when it came time for packing the car. I’m not a strong CW operator, so with SSB being my primary mode of operation, I was hesitant to go low power QRP.
With that criteria, it really narrowed the field down to my options. I also wanted to minimize the cost of the station, mostly because I didn’t want to worry about damaging an expensive radio if it started raining or if things got thrown around while driving down a rough dirt road.
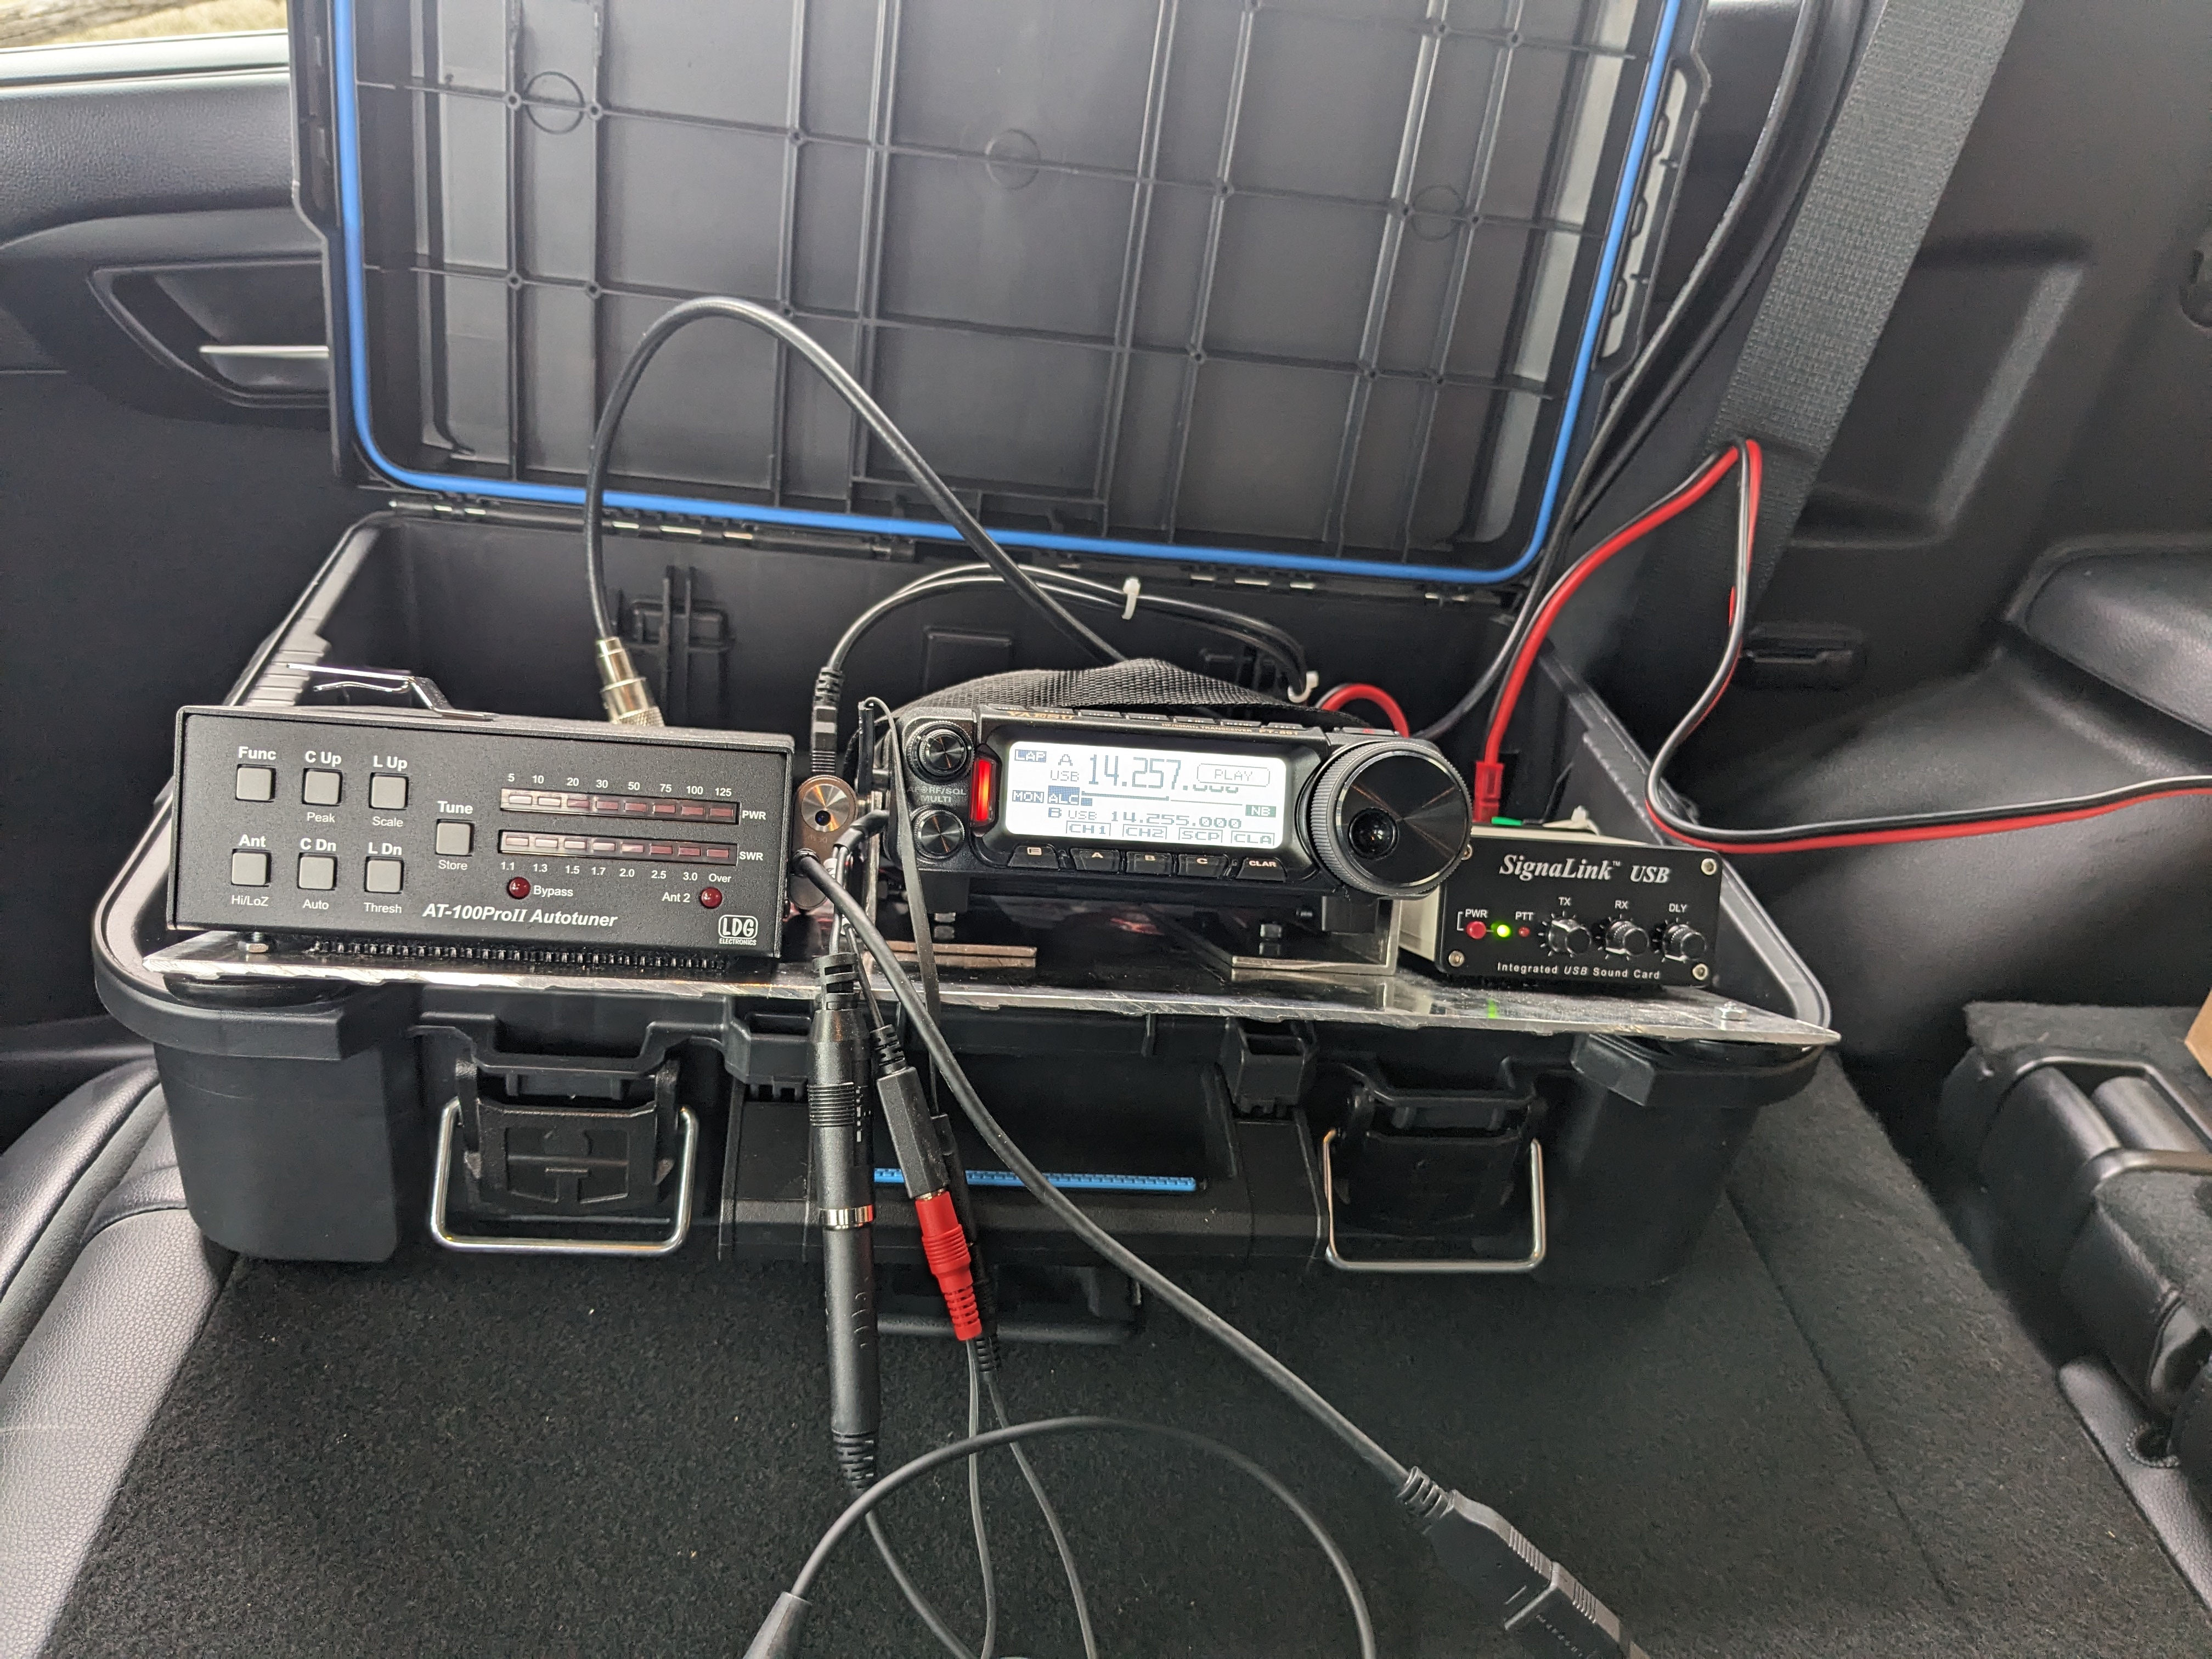
There are a number of older Yaesu and Icom radios that would fit the bill, but the used cost on those was nearly as much as a brand new Yaesu FT-891 with a factory warranty, which is how I arrived at the radio.
For the tuner, I wanted to try an LDG model, and I ultimately chose the AT-100Pro II because it contained LED bars for forward and SWR, which it useful when trying to troubleshoot in the absence of other tools.
Unfortunately the FT-891 is missing a number of features, one of which is direct USB interfacing for transmit and receive audio. I chose to integrate a SignaLink USB for interfacing with the rig for digital modes such as FT-8 and CW. (Note, I have since replaced the Signalink with a DigiRig DR-891)
Operating with the stock hand mic works well with the FT-891, but I chose to upgrade to the Heil BM17SDYN single-ear headset. This allows me to operate mostly hands free, and also to keep the radio noise to a minimum to avoid annoying the neighbors. A single ear is good for maintaining a level of situational awareness when you’re out in the public and/or nature, as well as for having side conversations with the XYL.
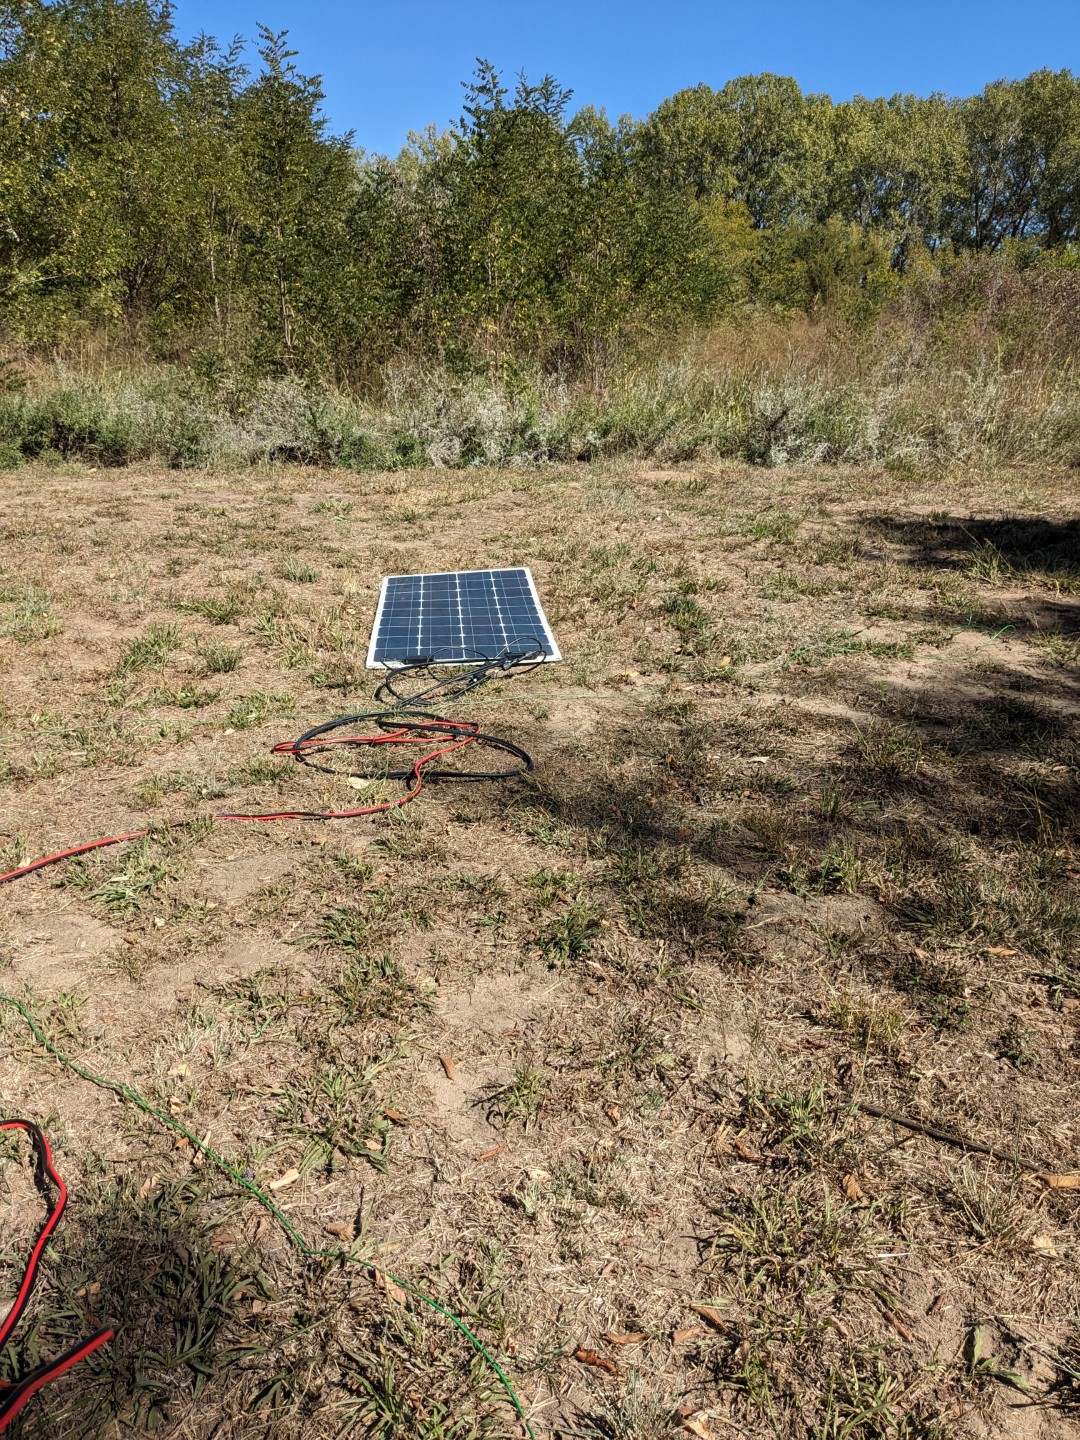
Finally for battery, I’m operating Sealed Lead-Acid batteries (more about that below), and a 200W flexible solar panel. With this panel I can operate as long as I have sunlight, even if it’s partially cloudy, although I often dial back the transmit power to extend my time.
Carry Case
During my first activation, I had several cases that I was carrying around. I quickly realized that even if there is a sidewalk from the vehicle into the park, we often preferred to hike back into the forest to keep the antenna away from the public, and to have a quieter spot.
I quickly discarded the individual cases that I originally put together and purchased a set of stacking cases from Walmart branded Hart. Walmart carries several size options, and they’re relatively light weight compared with some of the heavier-duty models from Home Depot or Lowes.
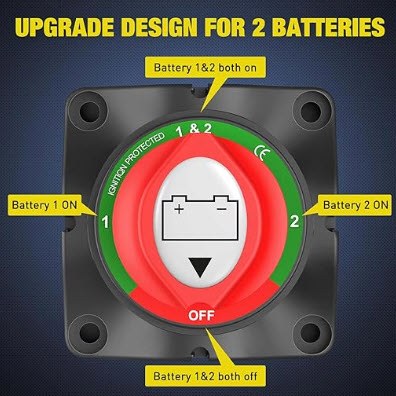
In the bottom box that the handle and wheels are attached to, I have a plywood insert that divides the space into four compartments. One of those compartments contains the Lead-Acid battery, and is fully enclosed. I used the top face of that encasement to mount a high-current A/B/A+B switch, as is common on boats and RVs.
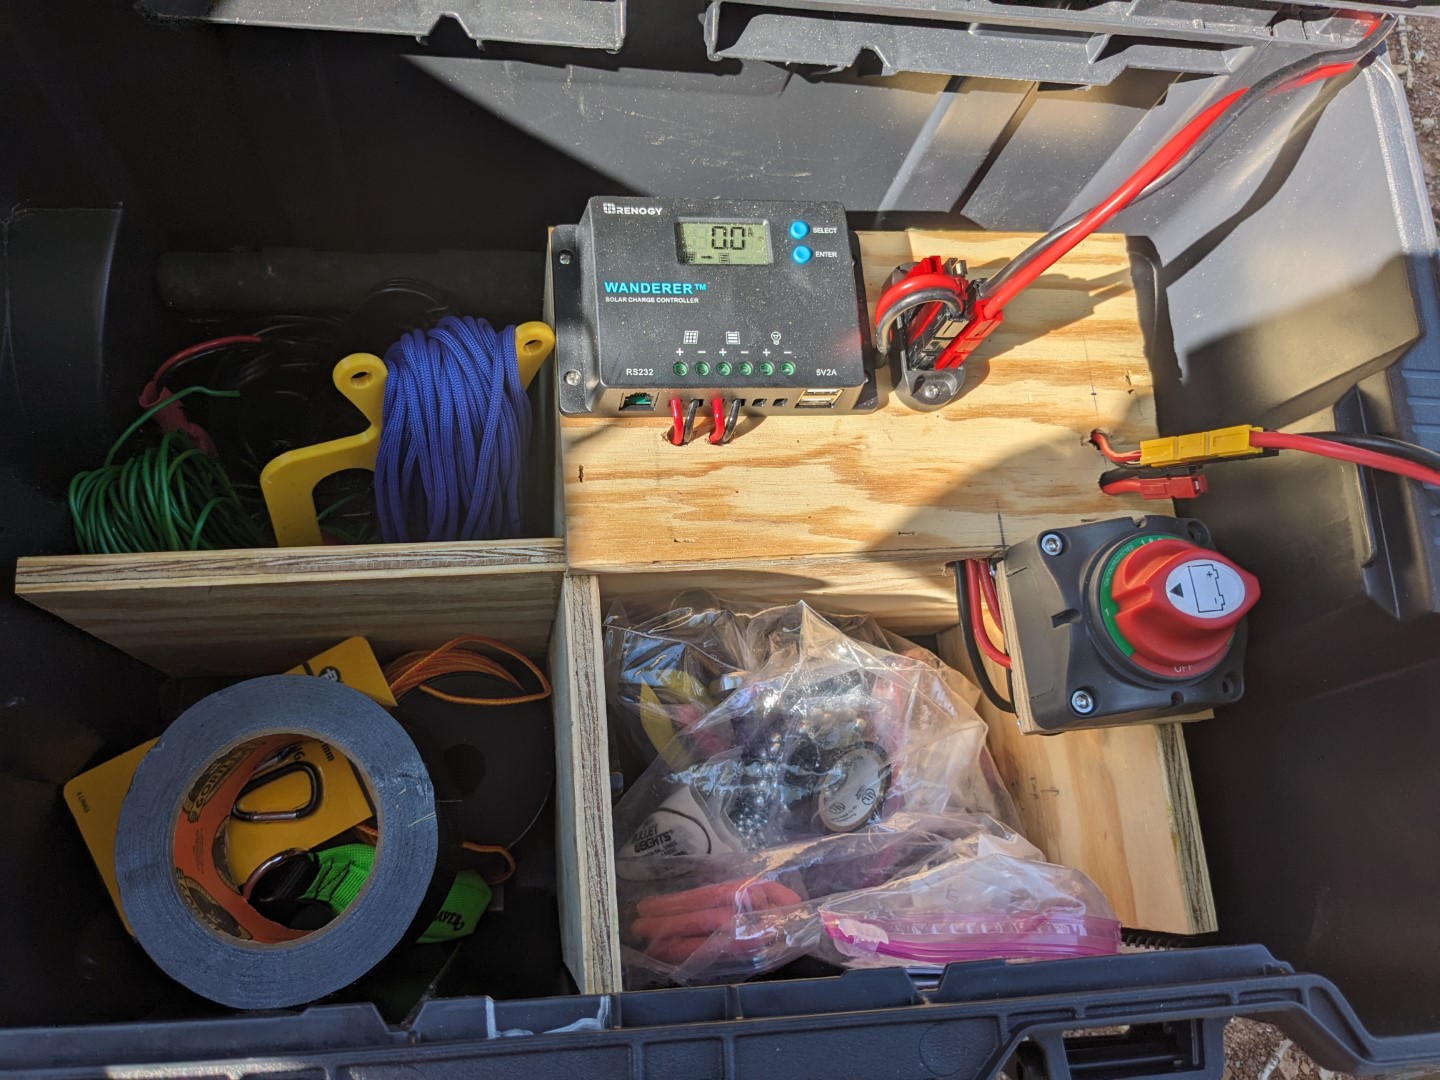
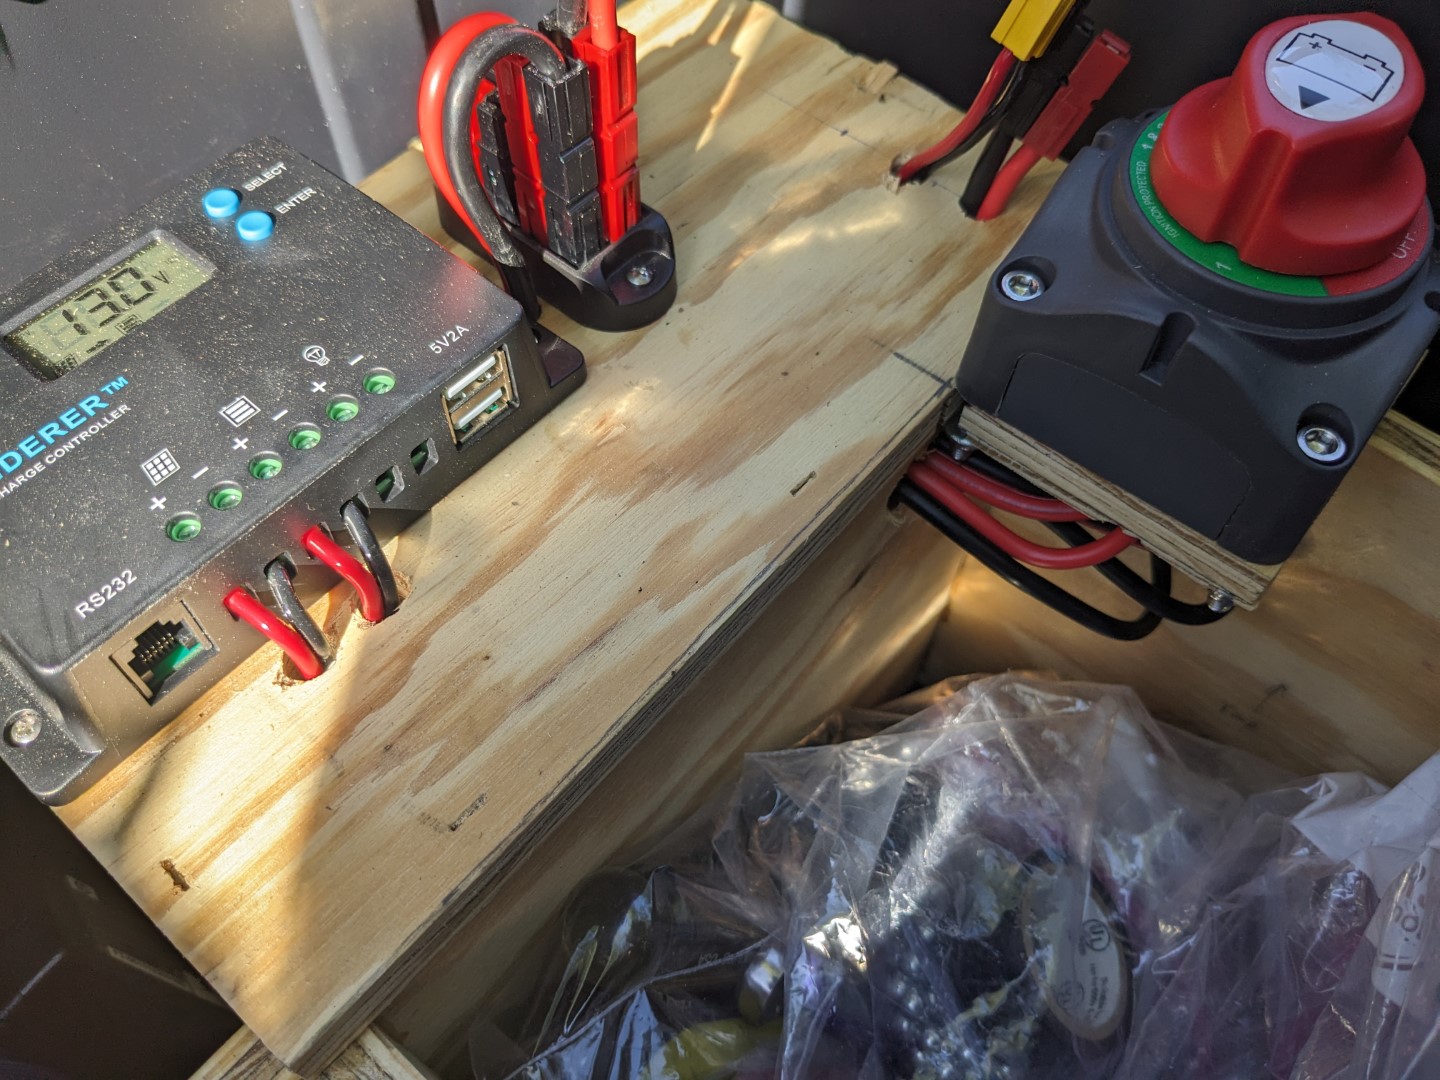
For the battery I am using the Sealed Lead-Acid (SLA) battery at an 18AH capacity. Eventually I plan to upgrade to Lithium LiFePO4 batteries, but due to the nature of my A+B Cross Feed switch, I need to match the battery chemistry in my secondary (B) battery, which for me is the battery inside of the camper. I expect that it will need to be replaced within a year or two, and at that time I’ll upgrade both to LiFePO4.
The other three compartments of the bottom box contain various ropes, antennas, and tools, which will be discussed in more detail below.
RF Deck
The Hart case dictated the layout of the RF Carrier Deck. I bought some aluminum tread plate and cut it to size to fit into the bottom of the skinny Hart carrier. I made some minor modifications to the plastic case to maximize the space available.
I tried to distribute the equipment so that the whole unit can be lifted out of the case with a one-inch nylon strap that is attached to the angle aluminum that holds the FT-891 in place. The FT-891 is angled up slightly to make the viewing angle better on the screen.
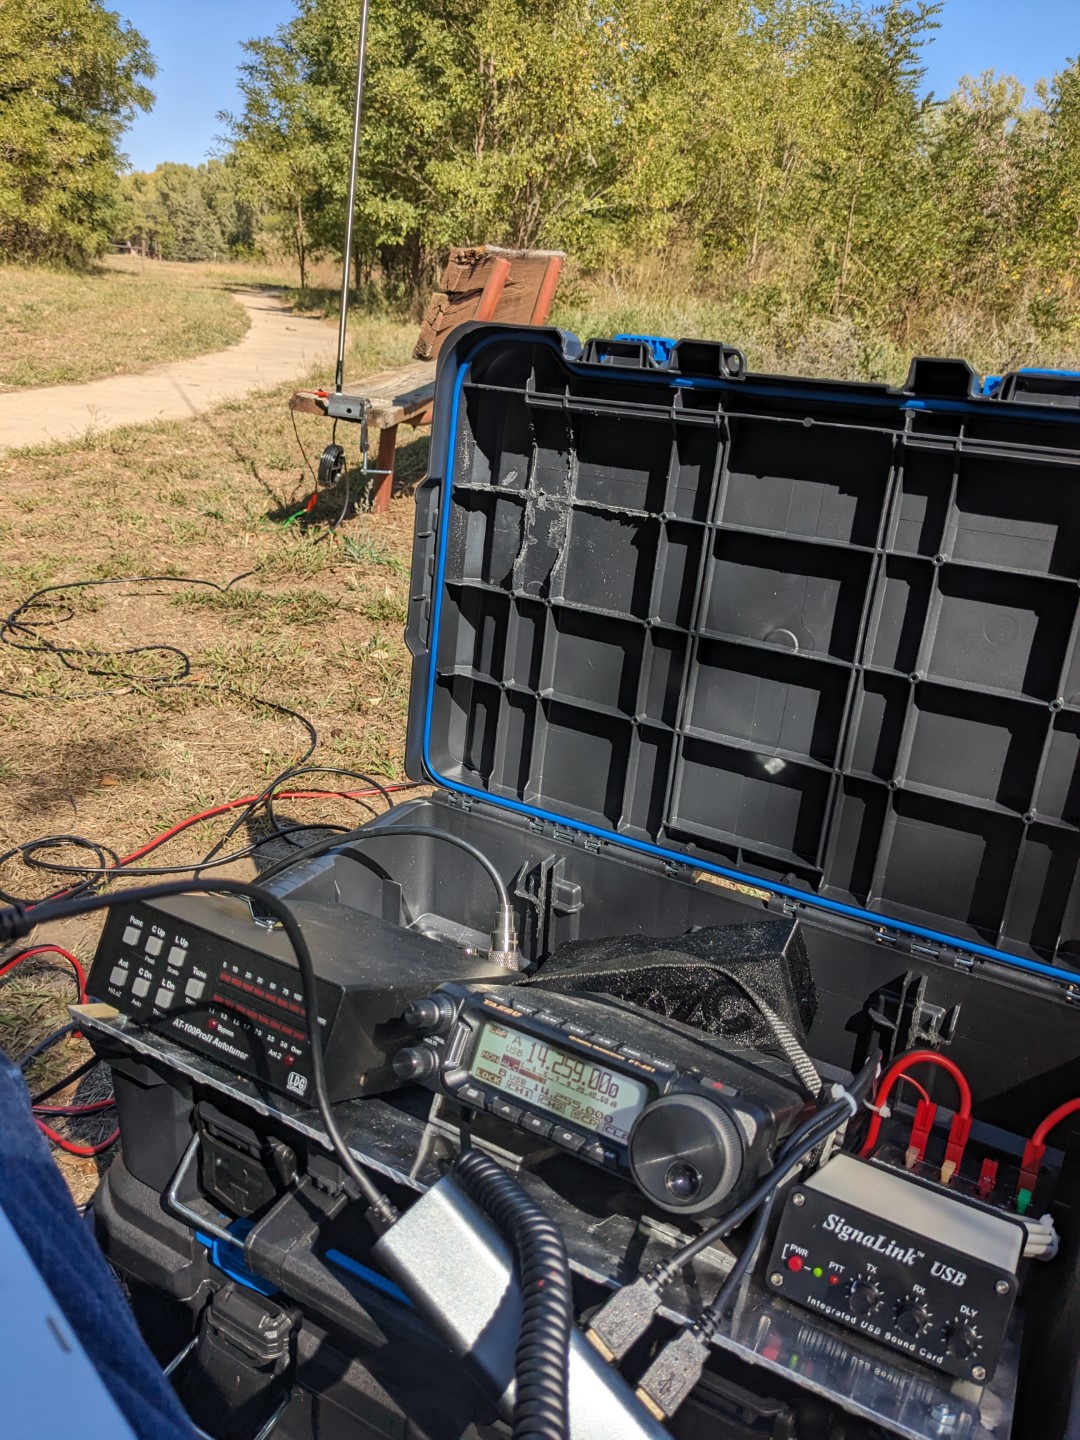
The antenna tuner and the USB interface are both attached to the tread plate using Velcro strips. So far those have held up nicely.
I have a three-port MFJ-1104 Powerpole block that allows me to leave everything permanently wired up on the RF Deck, and simply need an “extension cord” to connect it to whatever power source is available.
Antennas
My primary antenna an MFJ-1984MP EFHW antenna that is good for 40m through 10m at over 100W. Most of the locations I frequent have large trees that are easy to access, and I use an Arborist Throw Bag to launch a length of rope over a limb 20-40 feet in the air. The EFHW has a counterpoise on it, and I’ll either run that along the ground, or launch it into a second tree, depending on how long I intend to be operating.
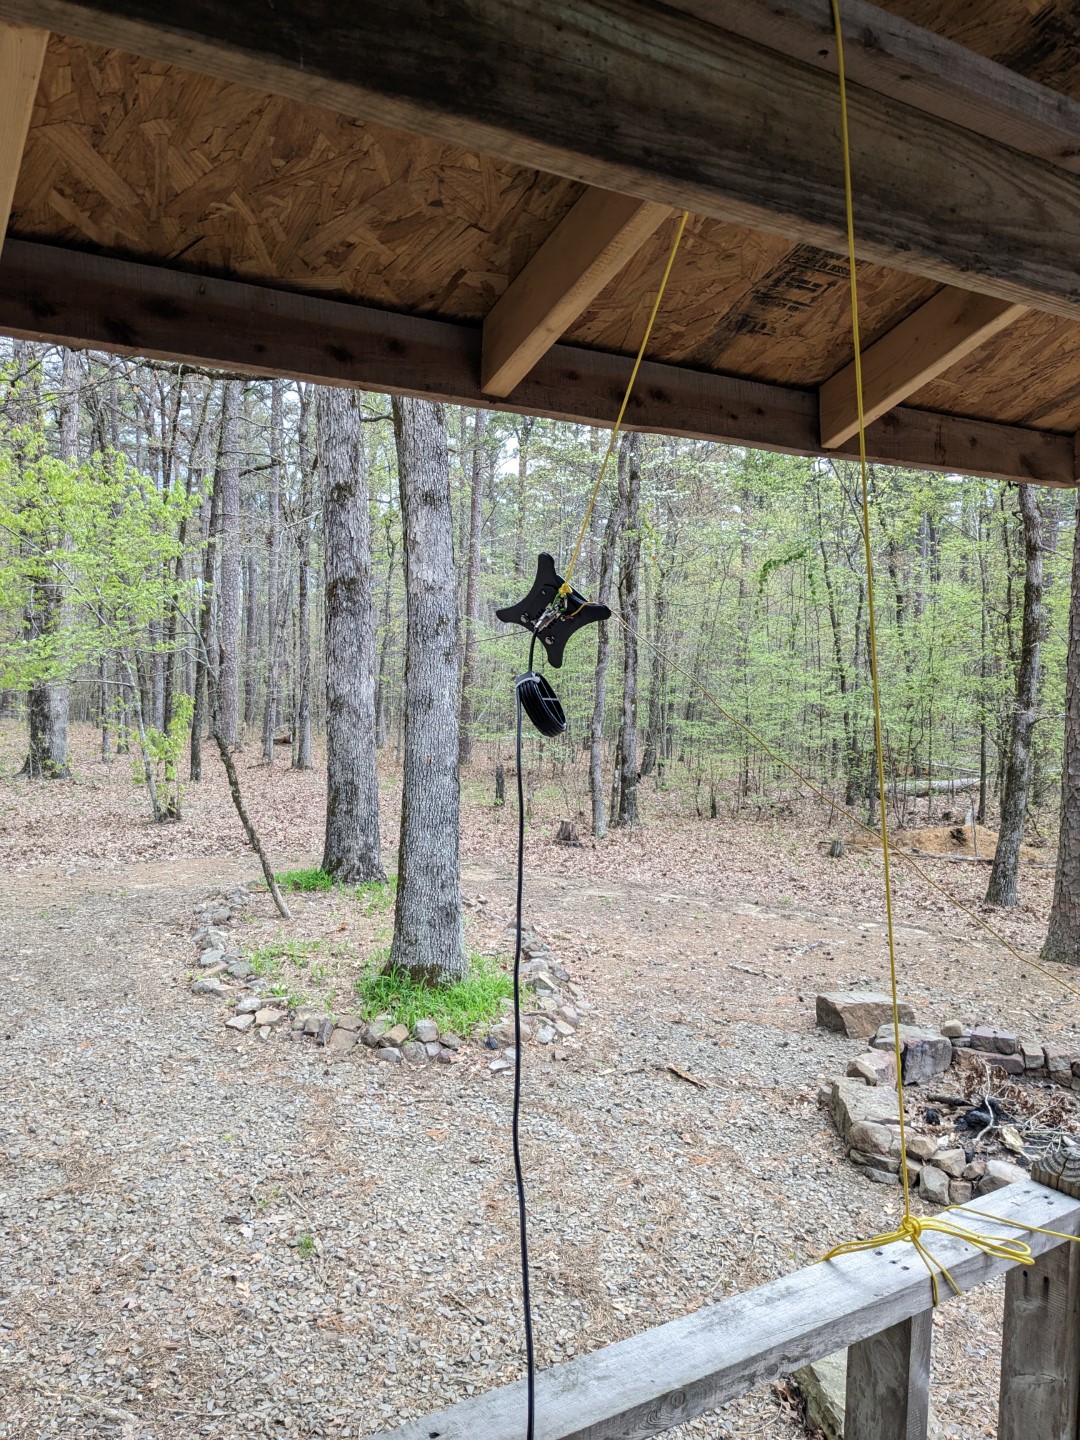
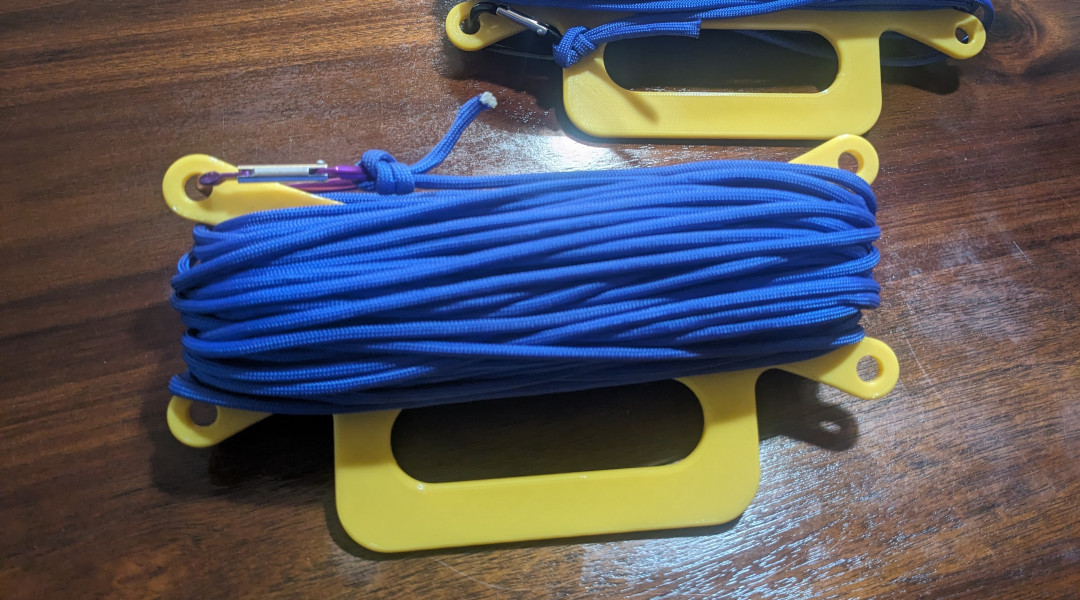
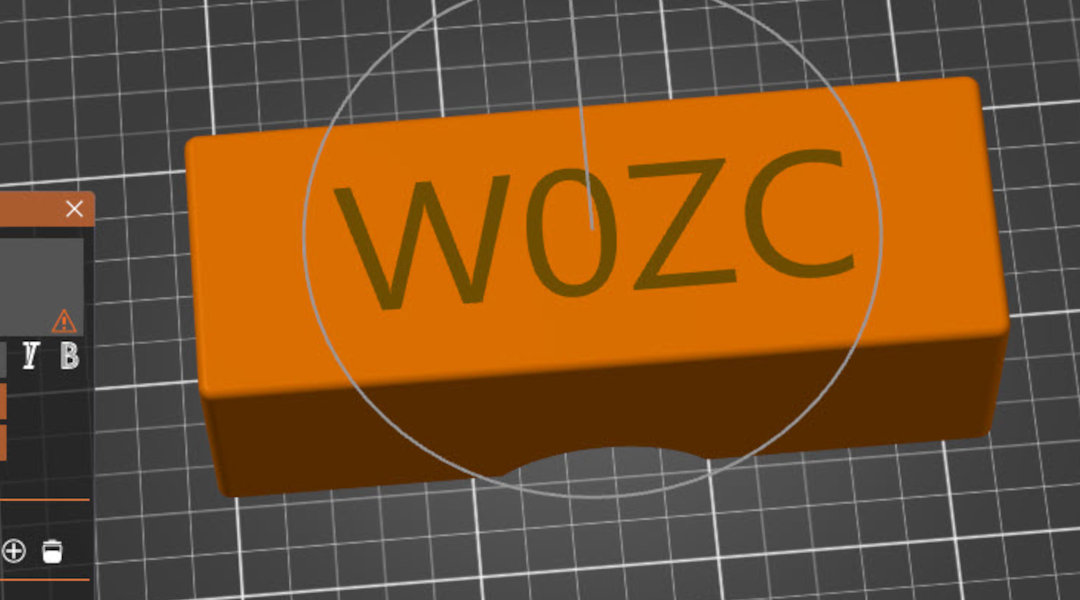
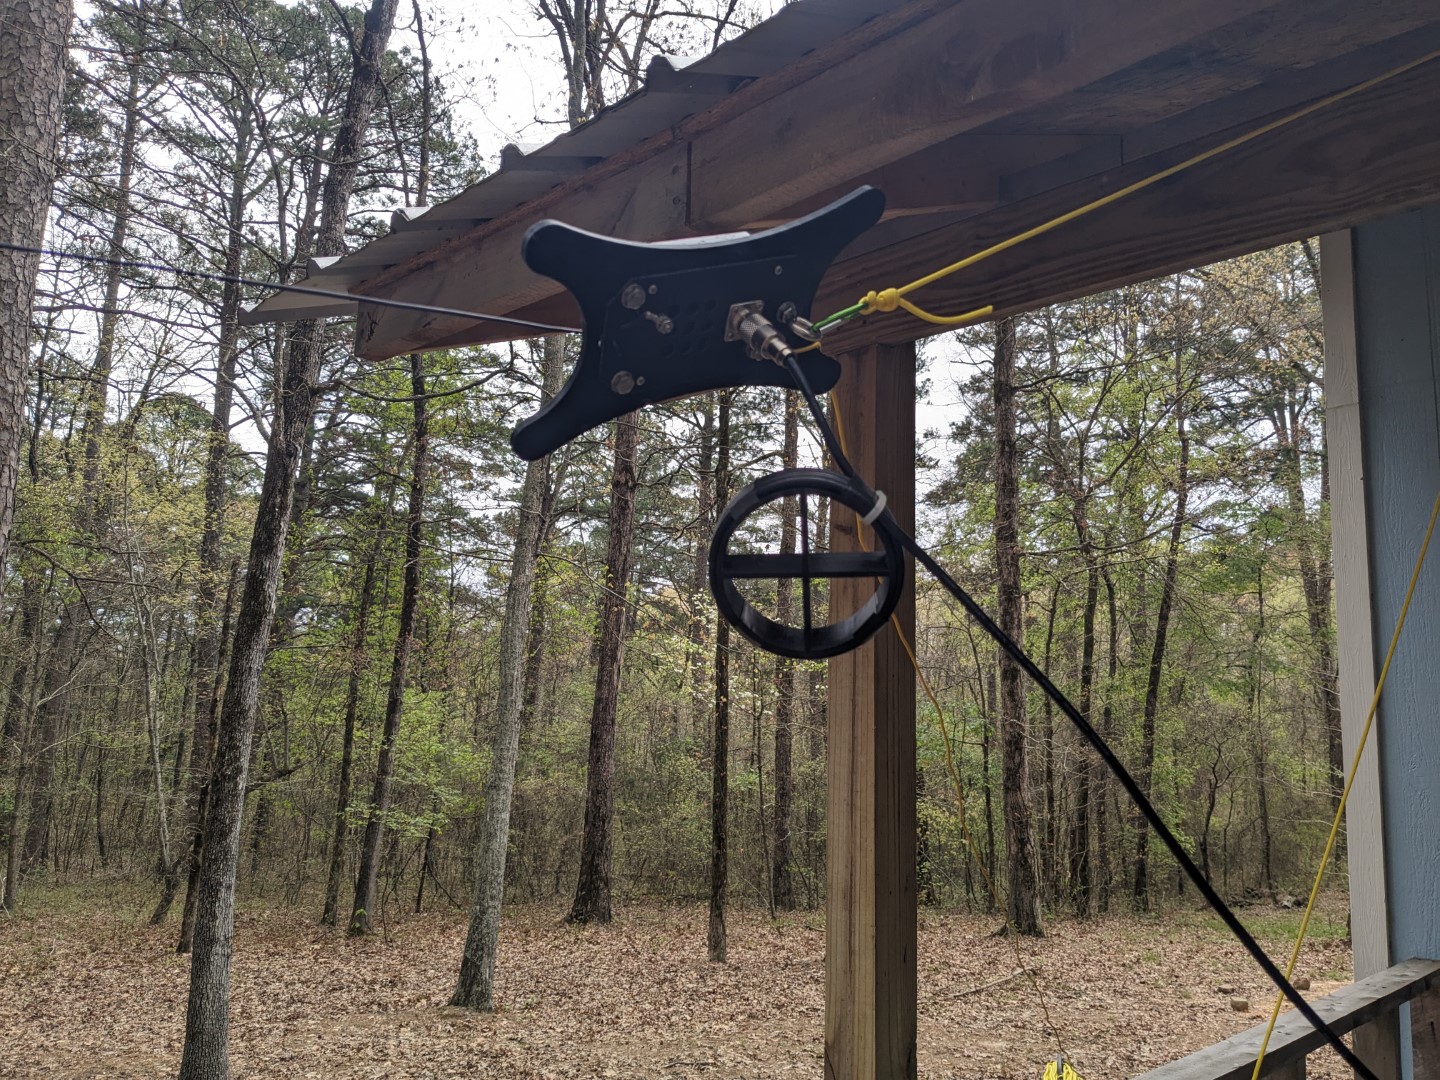
I 3D printed a winder that bolts directly to the MFJ antenna base that allows me to stow the antenna wire, and the counterpoise wire. I use eyebolts and loops so that my ropes can quickly be connected using carabiners which I leave permanently attached to the ends of my support ropes.
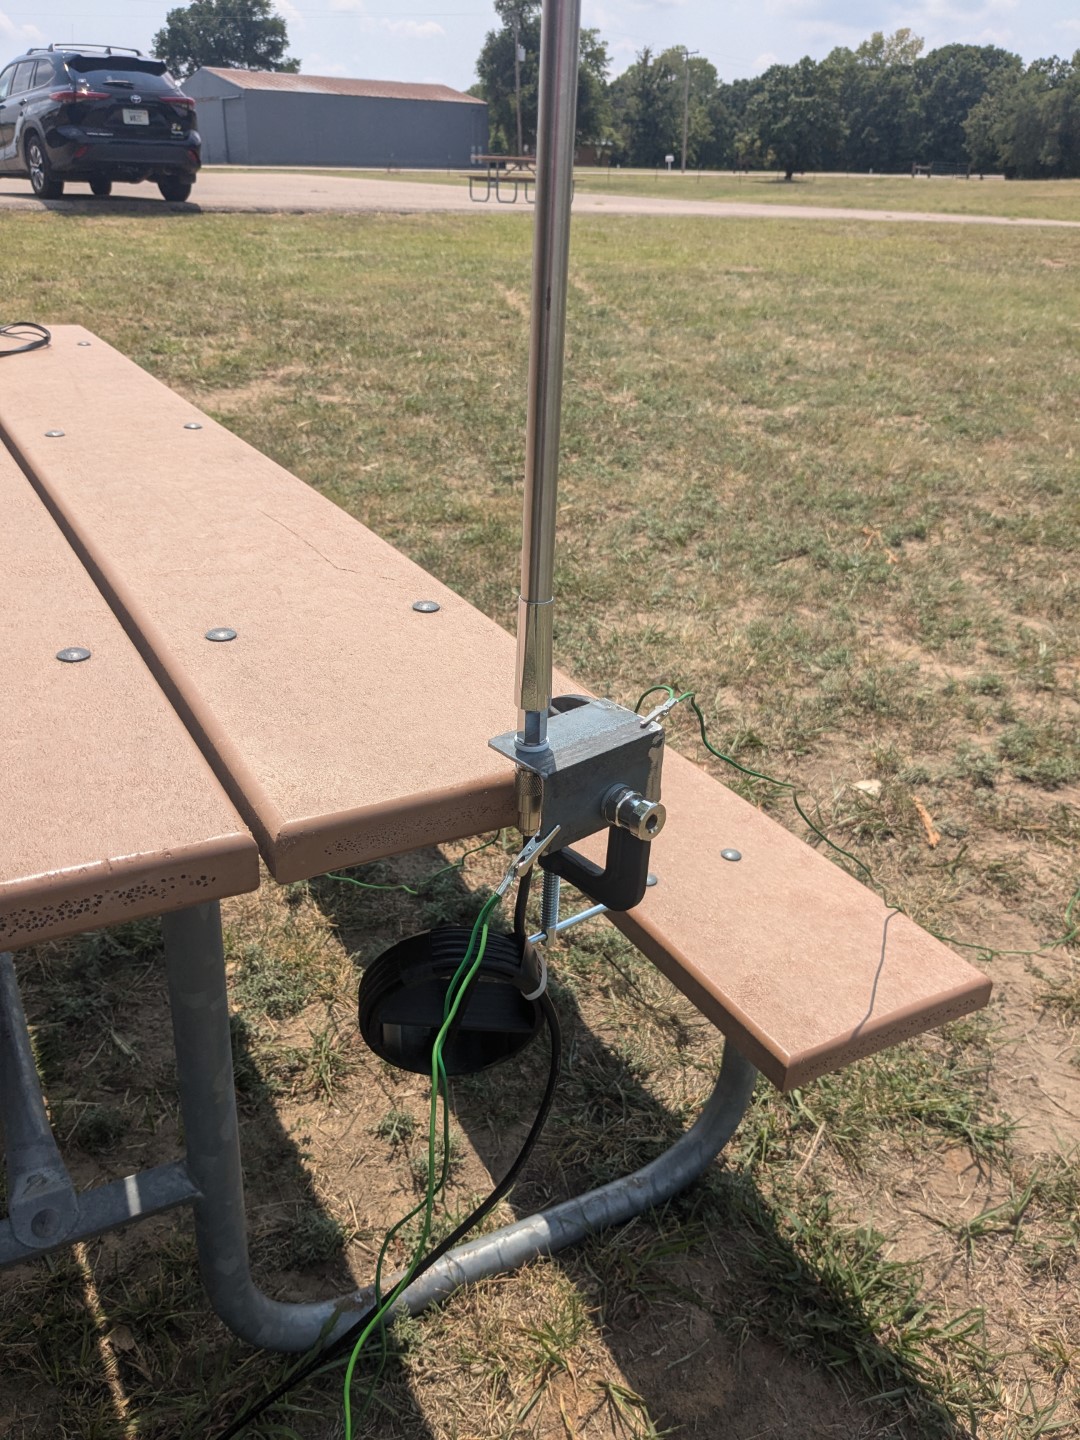
Sometimes trees aren’t available, or there are limitations that prevent the deployment of a wire antenna. For those instances, I keep an MFJ-1979 telescoping whip antenna that extends to 17 feet, which is ¼ wavelength on 20m. I welded a piece of angle iron to an old C-clamp which can be attached to any sort of fixtures such as campground BBQ grills, picnic tables, or signposts. I mounted two ¼-20 threaded adapters at right angles, so that I had options on the orientation of the antenna with respect to the C-clamp.
Otherwise, everything is standardized on the Anderson Powerpole connector, including inside of the camper. I keep a couple Powerpole extension cords around that I can use either to extend the solar panel further out into the sunlight, or on the RF Deck to move it farther away from the battery or camper.
When I’m in full sunlight, I can operate indefinitely with the 200W panel and the 18AH battery at a full 100W out of the FT-891. However, that does require some attention to making sure that the panel stays in the sun which can be an issue on an extended operations or when there’s lot of trees that create new shadows as the sun passes over head. Consequently, I usually dial the FT-891 back to about 50W when operating solar. I will note that I recently worked Italy from a tree-hung EFHW antenna running 30 watts, so QRO isn't necessarily a requirement.
I also carry an old laptop charge cord with me that’s been modified with a current-limiting resistor inline. Most of the older laptop cords put out around 18VDC, which is quite close to what the solar panel puts out during full sunlight.
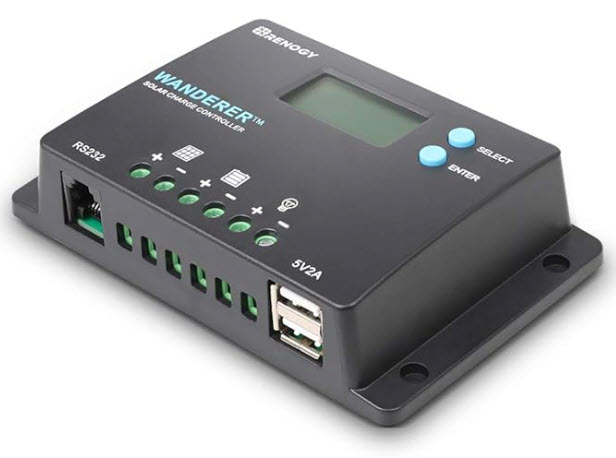
The high-power resistor will drop that voltage down slightly, and I plug the modified laptop cord into the solar charger to effectively simulate the solar panel when I have access to 110V “shore” power. It’s not the most efficient way to go about running from 110V, but it is small and convenient.
Logging
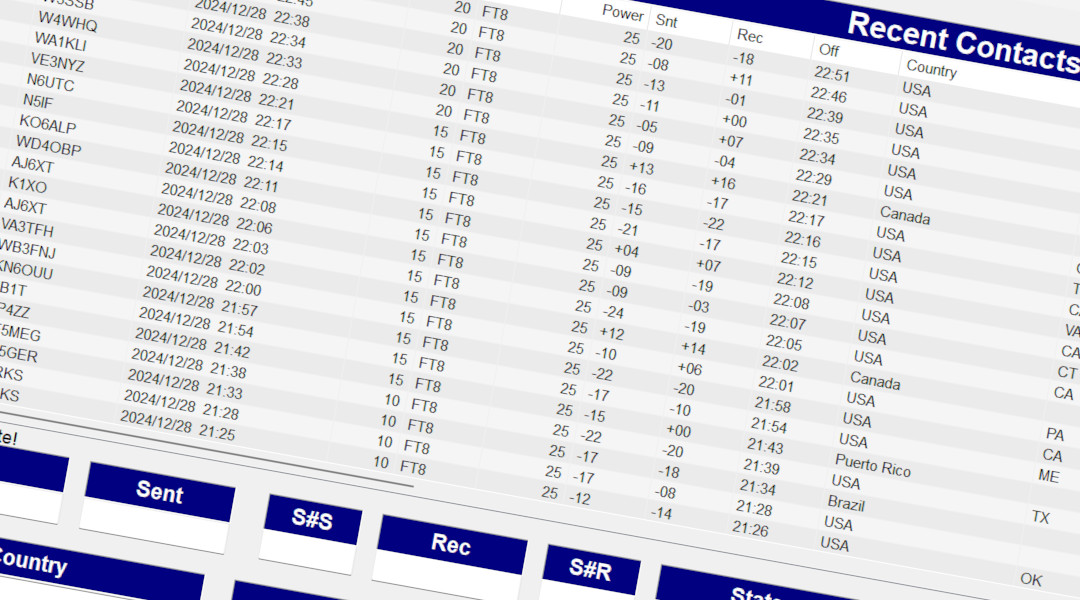
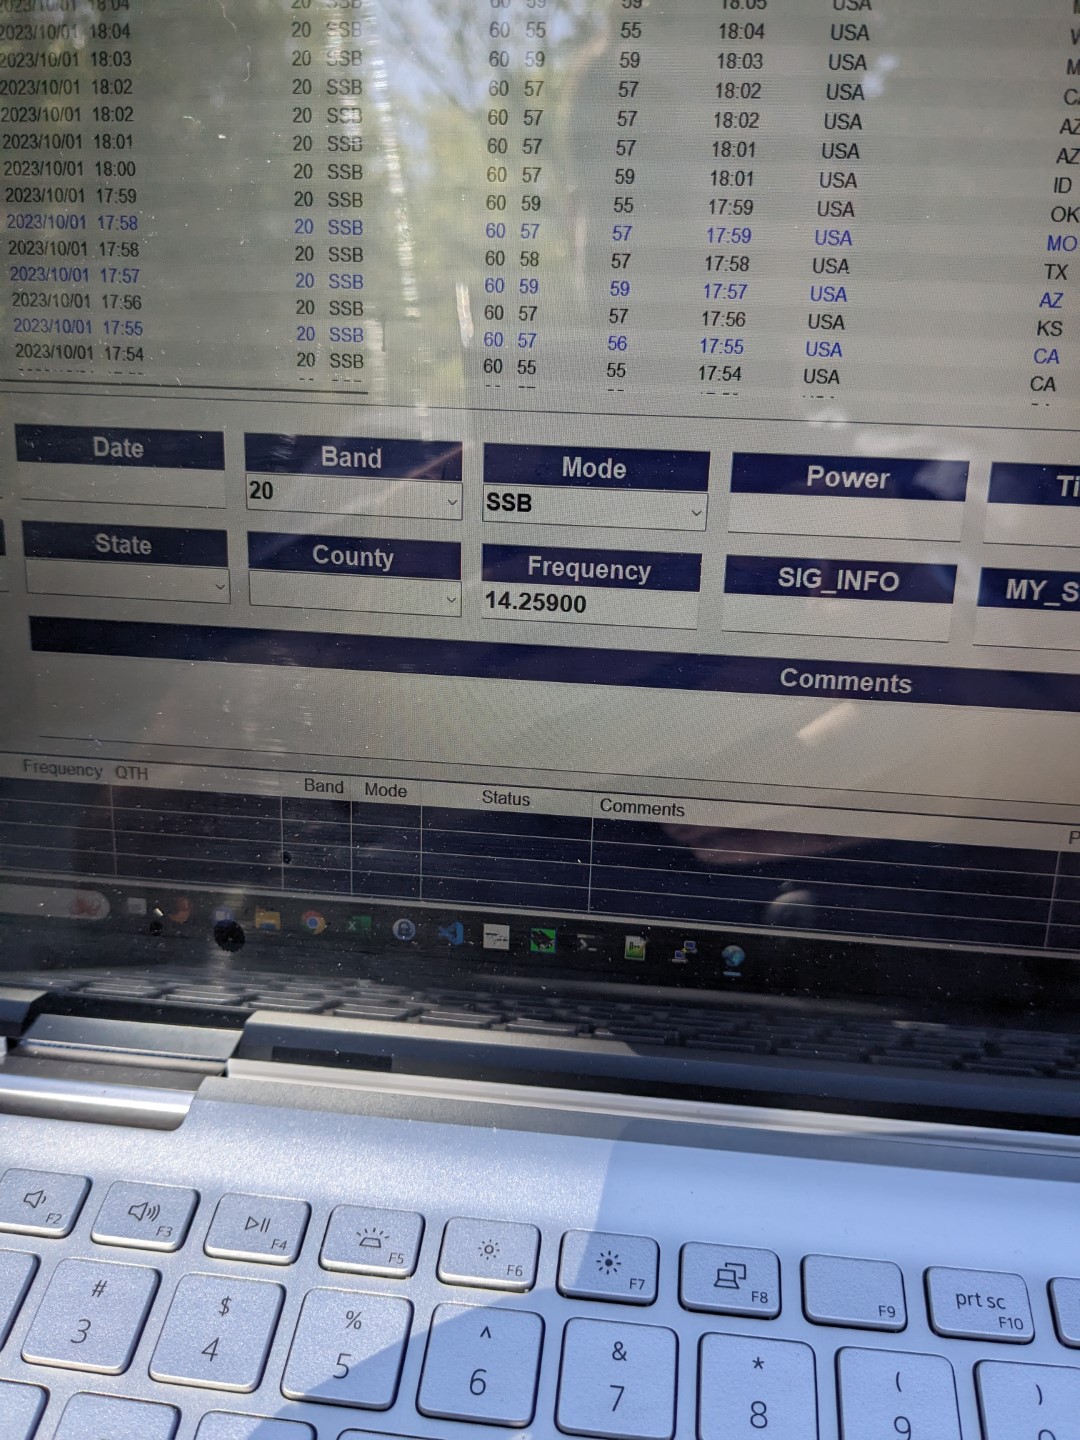
I use the N3FJP ACLog for logging POTA contacts. The POTA website has some tutorials on how to configure ACLog to add in the park fields, which are then reported directly the POTA site at the end of the activation.
I have tried logging on a phone or tablet using software such as HAMRS. I really like the concept of going light weight out in the field, however I have a few objections to Android/iOS options. The keyboards on phones and tablets are difficult to type on, especially when you’re typing callsigns that mix in numbers with the letters. HAMRS has a nasty little but in it where it likes to bounce the cursor around if you mistype the callsign and have to correct.
The other major drawback to a non-PC is that USB rig control won’t connect to log the operating frequency. Also operating any of the digital modes becomes that much more complicated.
I did discover Ham2K PoLo: Portable Logger recently which I've done some testing with for logging. The User Experience is better than the HAMRS, but it still has the limitations of not interfacing with the CAT control on the radio, and re-importing logs back into my master radio log is a hassle.
Next Steps
This setup is quite functional and I've activated about 20 parks with it, totaling a few hundred contacts. I've already gone through a third-generation of go kit, and am working on a 4th generation that I'll be posting here shortly.
Resources
MFJ-1984MP EFHW Winder STL
Coax Choke STL
Parts List
Yaesu FT-891
LDG AT-100Pro II Autotuner
Hart Roller Case (Walmart)
SignaLink USB Interface
Heil BM17SDYN Headset
200W Solar Panel
Solar Charger
A/B/A+B Switch
MFJ-1984MP EFWH
MFJ Extendable Whip
Arborist Throw Bags
Rope
Coax, adapters, and lots of misc.
Related Articles


